N8n foundations: A marketer's guide to AI workflow automation

This guide is your user manual for the n8n interface so you can start building right away. Learning the basics is the foundation for AI-driven marketing automation.
We'll break down the n8n interface into its essential building blocks: workflows, nodes, triggers, and credentials. Mastering these concepts is the first, most critical step toward true AI marketing automation.
If you haven't installed n8n yet, we recommend starting with our step-by-step installation guide first.
How to Install n8n in 10 Minutes: A Step-By-Step Guide
Understanding the n8n interface
When you first open n8n, you're looking at your digital workbench. Think of it as a canvas where you'll connect your marketing tools to perform tasks automatically.
Let's break down the essential building blocks you'll be working with.
Workflows: Your automation blueprints
A workflow is a single, complete automation recipe. It’s the entire process from start to finish. You might have one workflow for performance alerts, another for generating weekly reports, and a third for classifying Google Ads search terms.
Triggers: The starting point
A trigger is a special type of node that starts a workflow. It’s the starting pistol that kicks everything off. Every workflow must begin with one, and only one, trigger.
Here are the main types you'll use as a marketer:
- Manual trigger: For testing your workflow or running a task on-demand, like 'Process this one-off list of leads now".
- Schedule / cron trigger: For recurring tasks, like a "Daily Performance Report" that runs every morning at 8 AM.
- Webhook trigger: For real-time events. This is the key to instant API connections. It generates a unique URL that "listens" for an event, like a new form submission on your website or a new purchase in your e-commerce store.
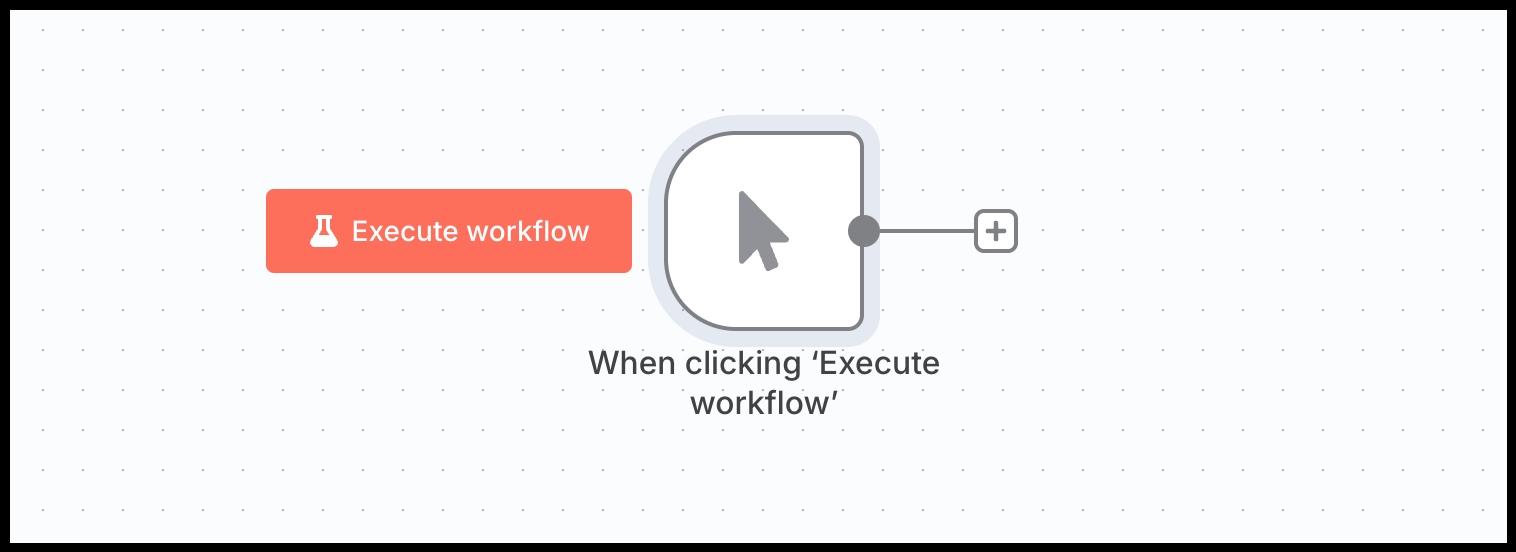
For this example, we’ll begin with a manual trigger (shown in the screenshot). Once activated, it should send an email through our Gmail account.
Credentials: Your secure API keychain
This is where you securely store the API keys, login details, and OAuth connections for your marketing platforms (like Google Ads, Meta, Slack, or Hubspot). You only have to enter them once. n8n then uses these saved credentials whenever a node needs to access that tool, so you don't have to re-authenticate every time you build a new workflow automation.
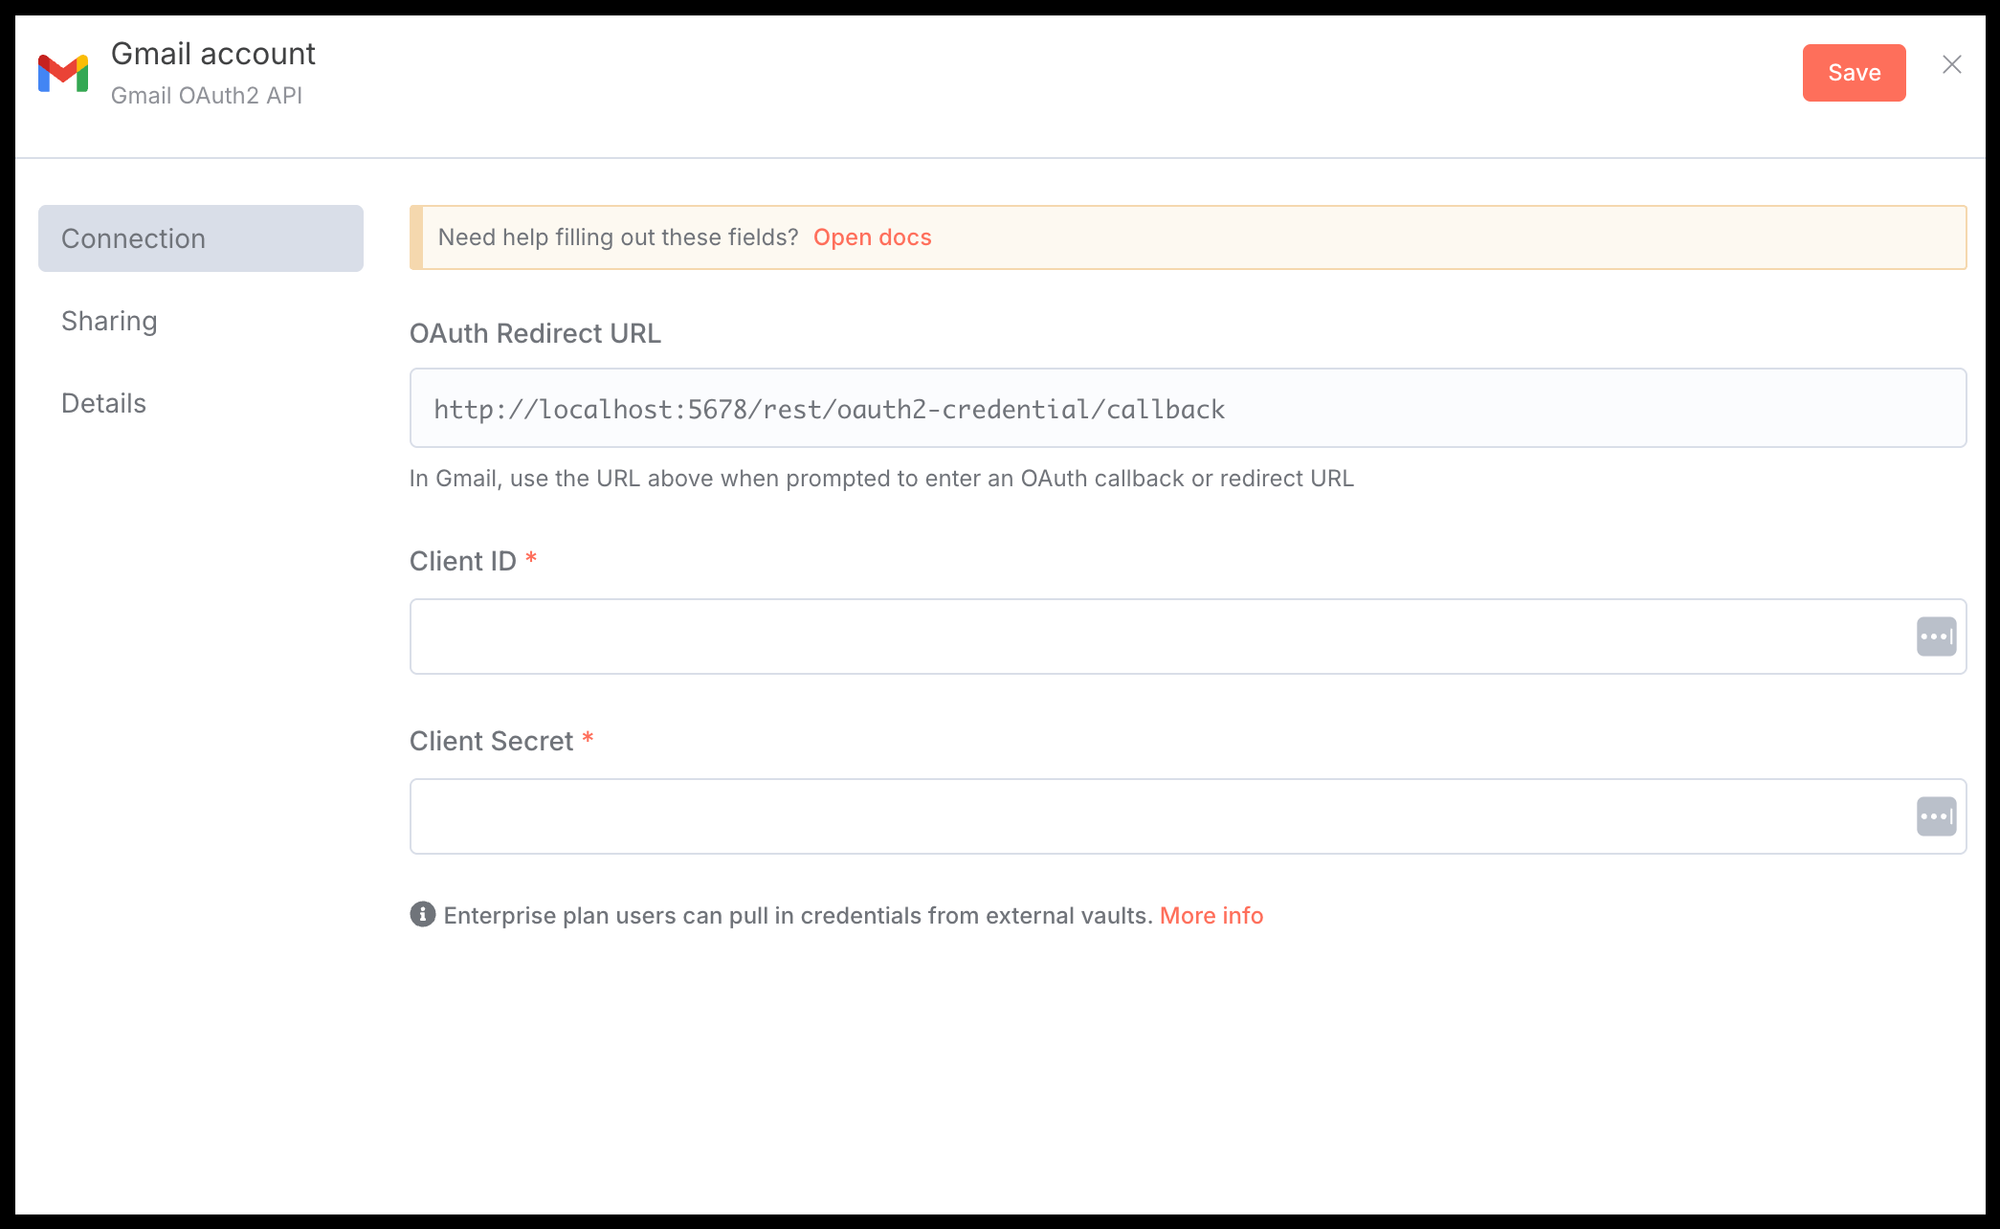
In our case, we need to add the Gmail credentials in n8n. You go to your homescreen, click on credentials, and on the right top on 'Create credential'.
From the list, select Gmail OAuth2 API. The credential setup screen will open. Here you’ll authenticate your Gmail account and grant n8n the necessary permissions.
For more information on how to add credentials please read our Guide on Credentials and APIs in n8n.
Once saved, these credentials are securely stored and can be reused in any workflow without needing to log in again.
Nodes: The actionable steps
Nodes are the individual Lego bricks of your automation. Each node performs one specific job, like "Get data from Google Sheets," "Wait 10 minutes," "Check IF a condition is true," or "Send a Slack message." You build your workflow by connecting these nodes together.
When working with nodes, you’ll mainly encounter two types:
- Native nodes: Pre-built by n8n for popular apps and services (e.g. Gmail, Slack, Google Sheets, BigQuery, Google Ads). They’re plug-and-play and cover most common use cases.
- Custom nodes: Used when you need more flexibility, either by writing logic in the Code node, connecting with APIs through the HTTP Request node, or building a full custom node in JavaScript/TypeScript.
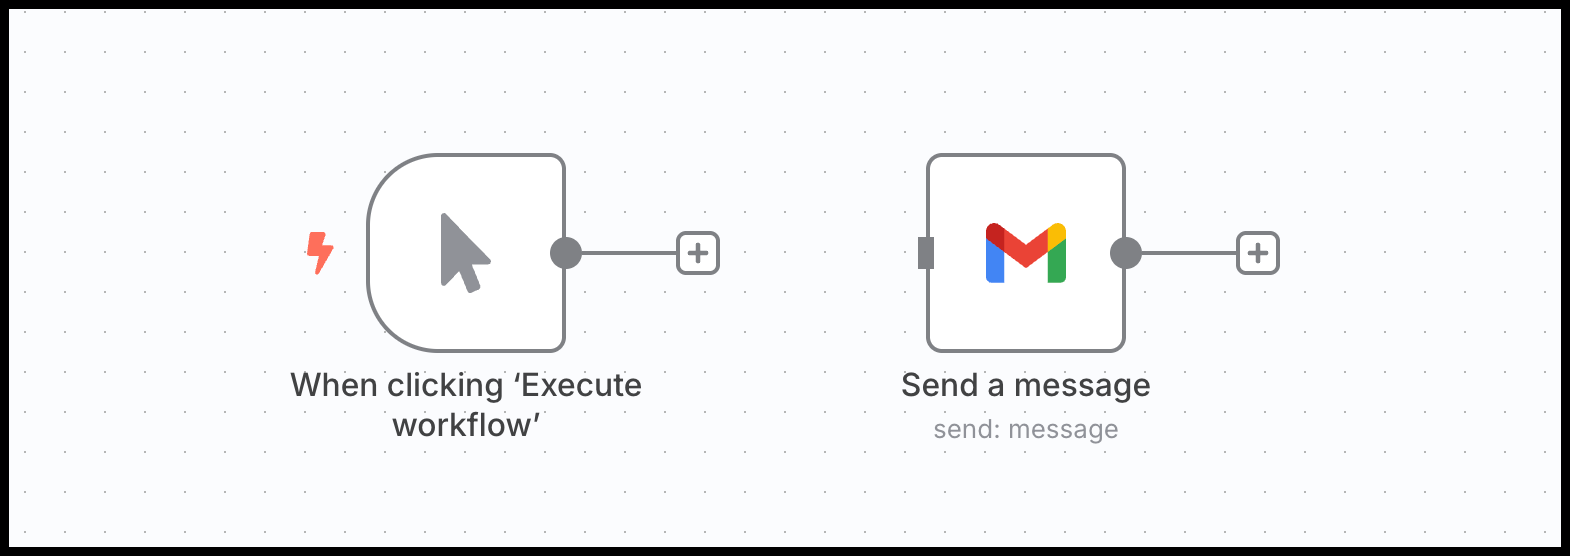
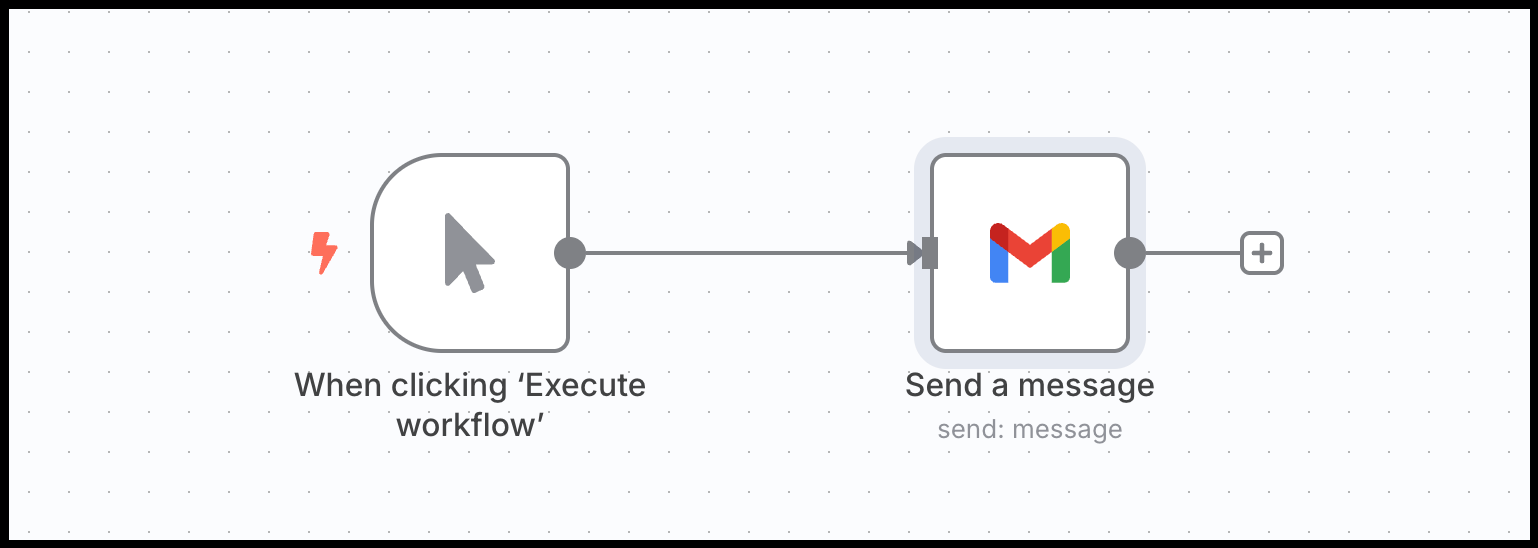
For our Gmail send email workflow, we will add the native 'Send a message' node from Gmail to our workflow by searching for it in the node section. Now your workflow should look like this:
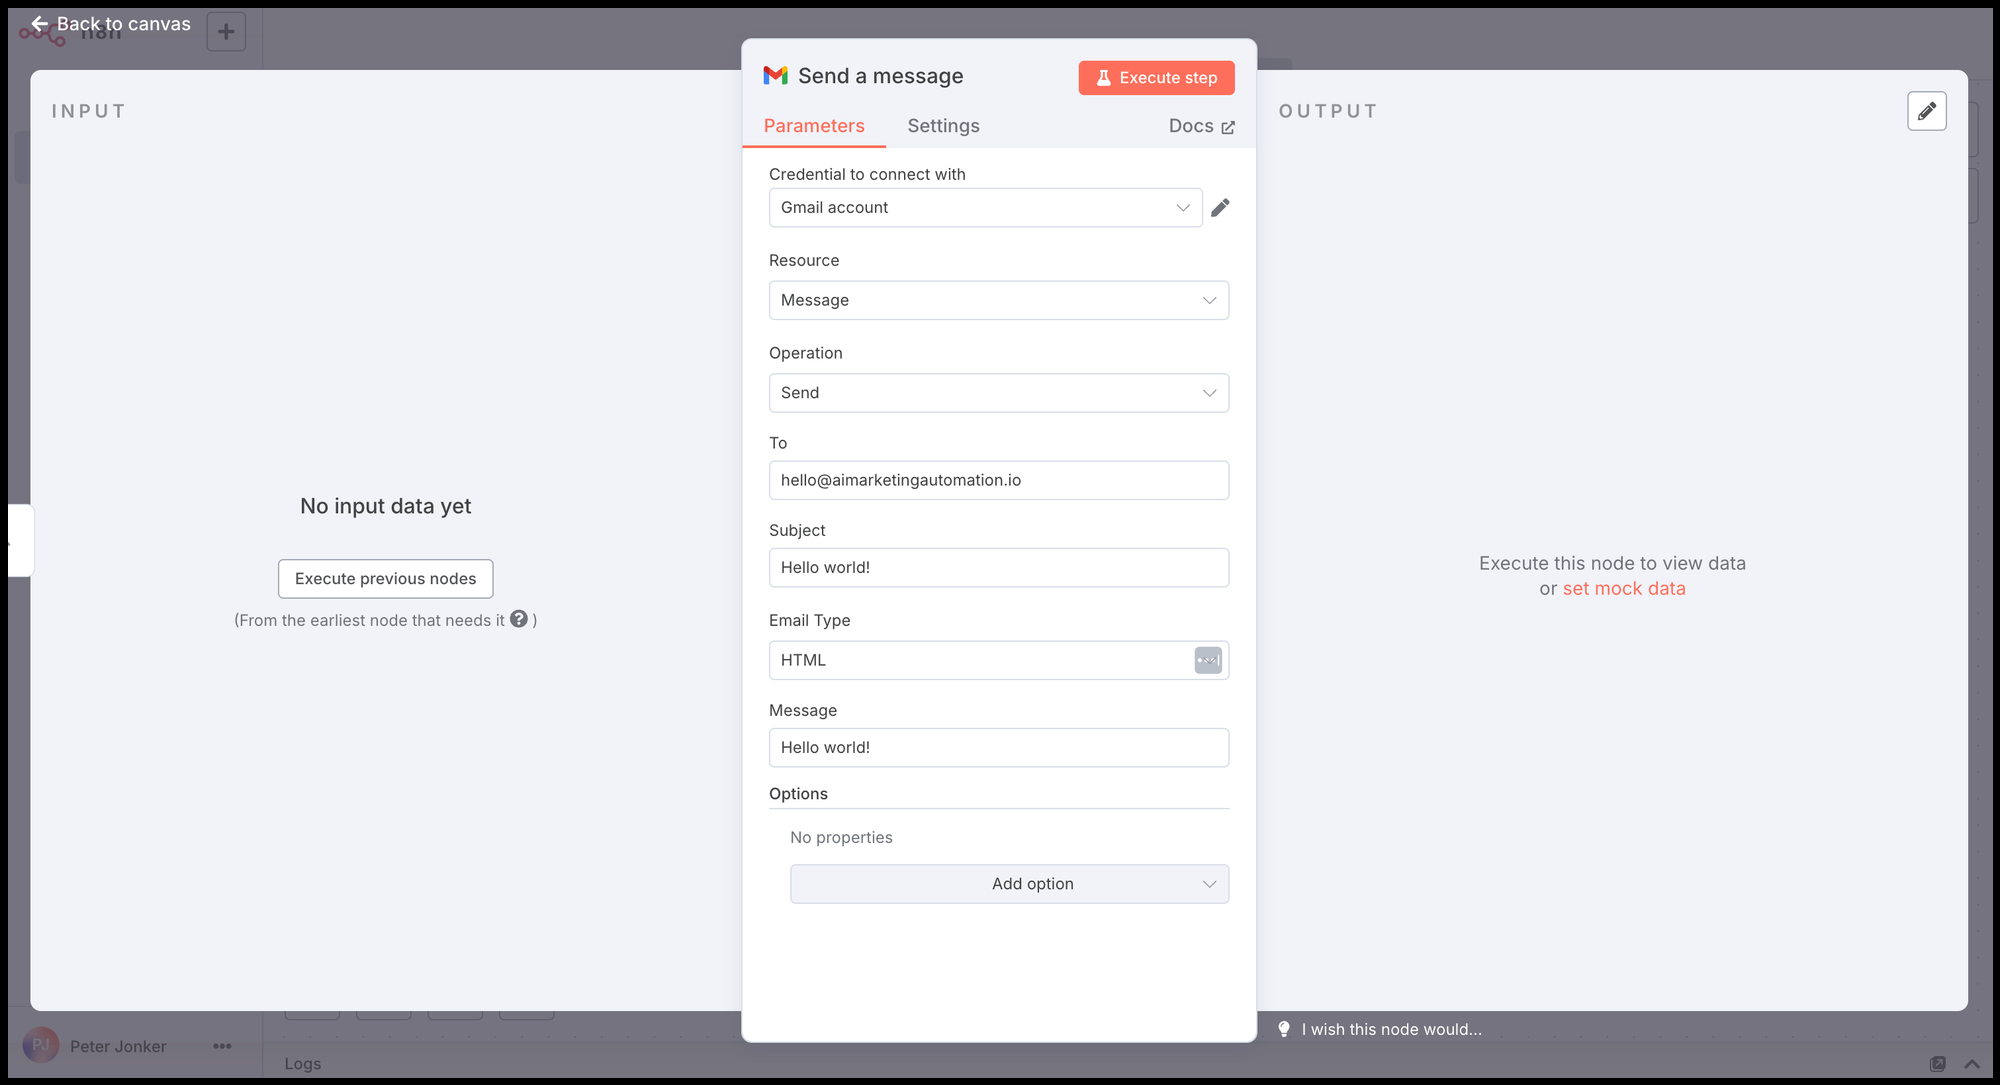
Open the Gmail ‘Send a message’ node by double-clicking it. In the settings, add your credentials and fill in the email fields. This example is straightforward, as shown in the setup below.
You now have a trigger and a Gmail node in place. The final step is simply connecting them to run the workflow. For that we'll use 'Noodles'.
Connections: The flow of data
Those lines you draw between nodes are called connections. They do more than just show the order of operations; they are the data pipelines that carry information from one step to the next.
For marketers, you can think of the data passing through these connections as structured fields. The data is technically in a format called JSON, but you'll see it as email, name, and budget, the exact same fields from your form, moving from one tool to the next.
In our example, the noodle carries the execution trigger from the workflow to the Gmail send a message node.
Simply click on the '+' symbol next to the execution trigger, and drag it to the Gmail node. Here’s what the workflow looks like now:
Executing the workflow
The setup of the workflow is finished now. Before we will execute it, we need to make sure to save it. Press on the orange 'Save' button on top.
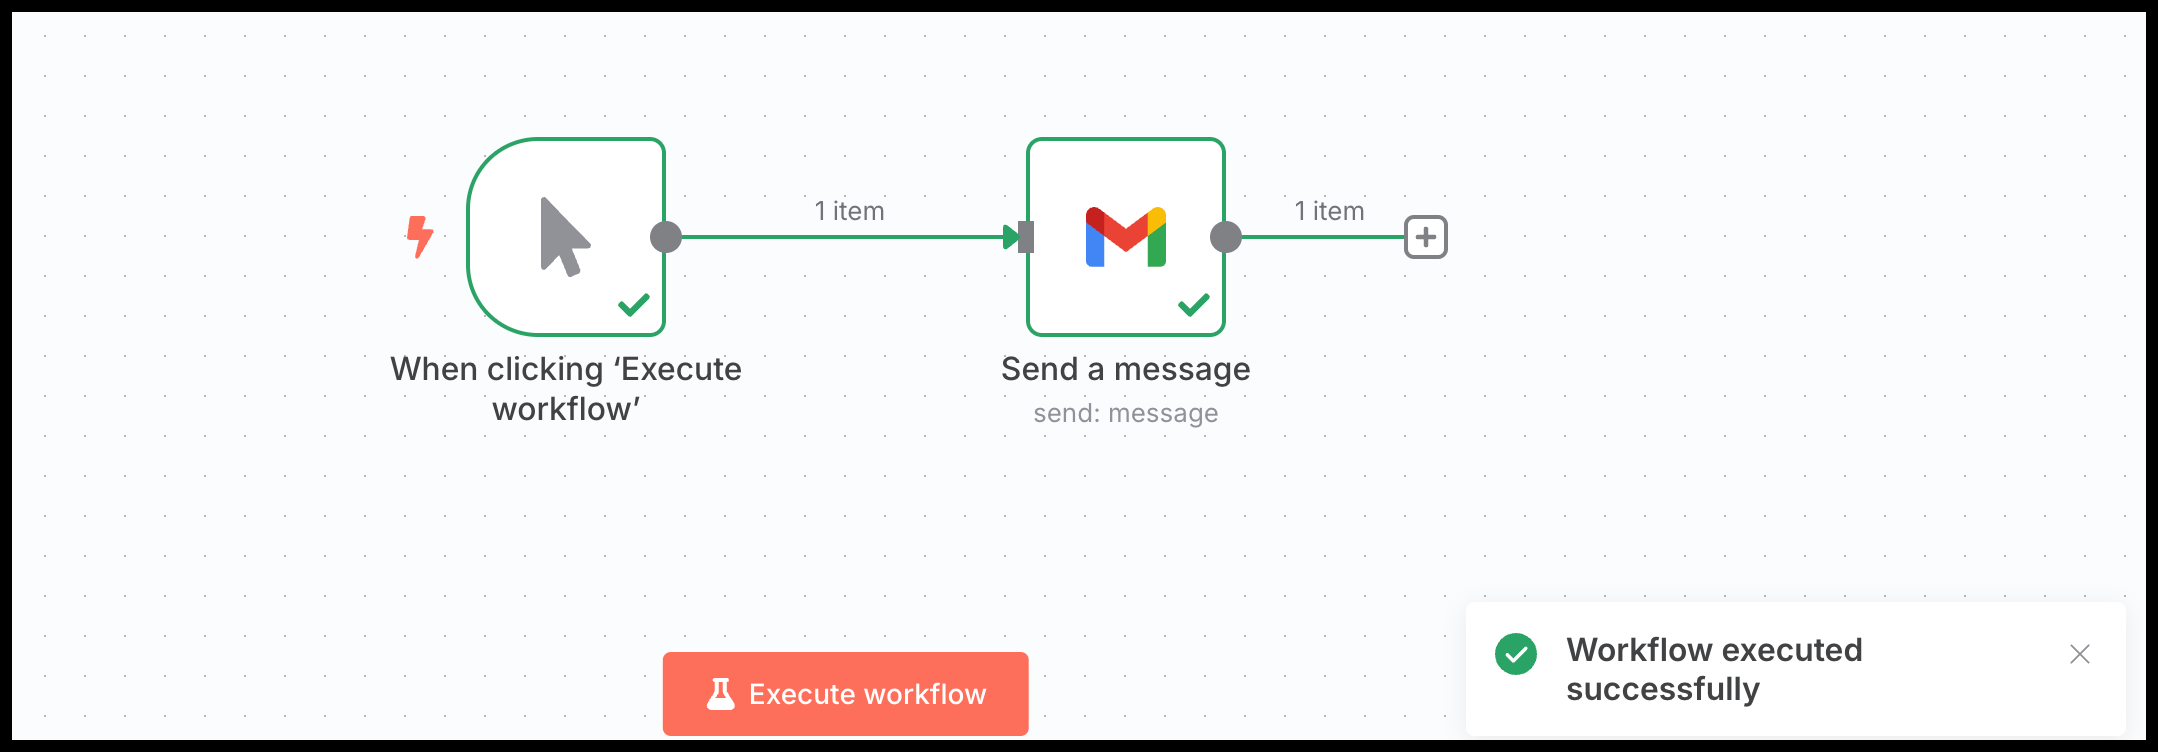
With your nodes connected and saved, it's time to run the automation. On the bottom of the workflow editor, you'll see a Orange button labeled 'Execute Workflow'.
Since our workflow begins with a Manual Trigger, clicking this button will kick off the process immediately. You’ll see n8n animate the execution, with green checkmarks appearing on each node as it successfully completes its task.
While manual execution is perfect for testing, your real-world automations will typically run on their own. To achieve this, you would simply replace the Manual Trigger with another type, such as:
- A schedule trigger: To run the workflow automatically at a set time (e.g., sending a report every Friday at 5 PM).
- A webhook trigger: To run the workflow instantly in response to an external event (e.g., a new form submission on your website).
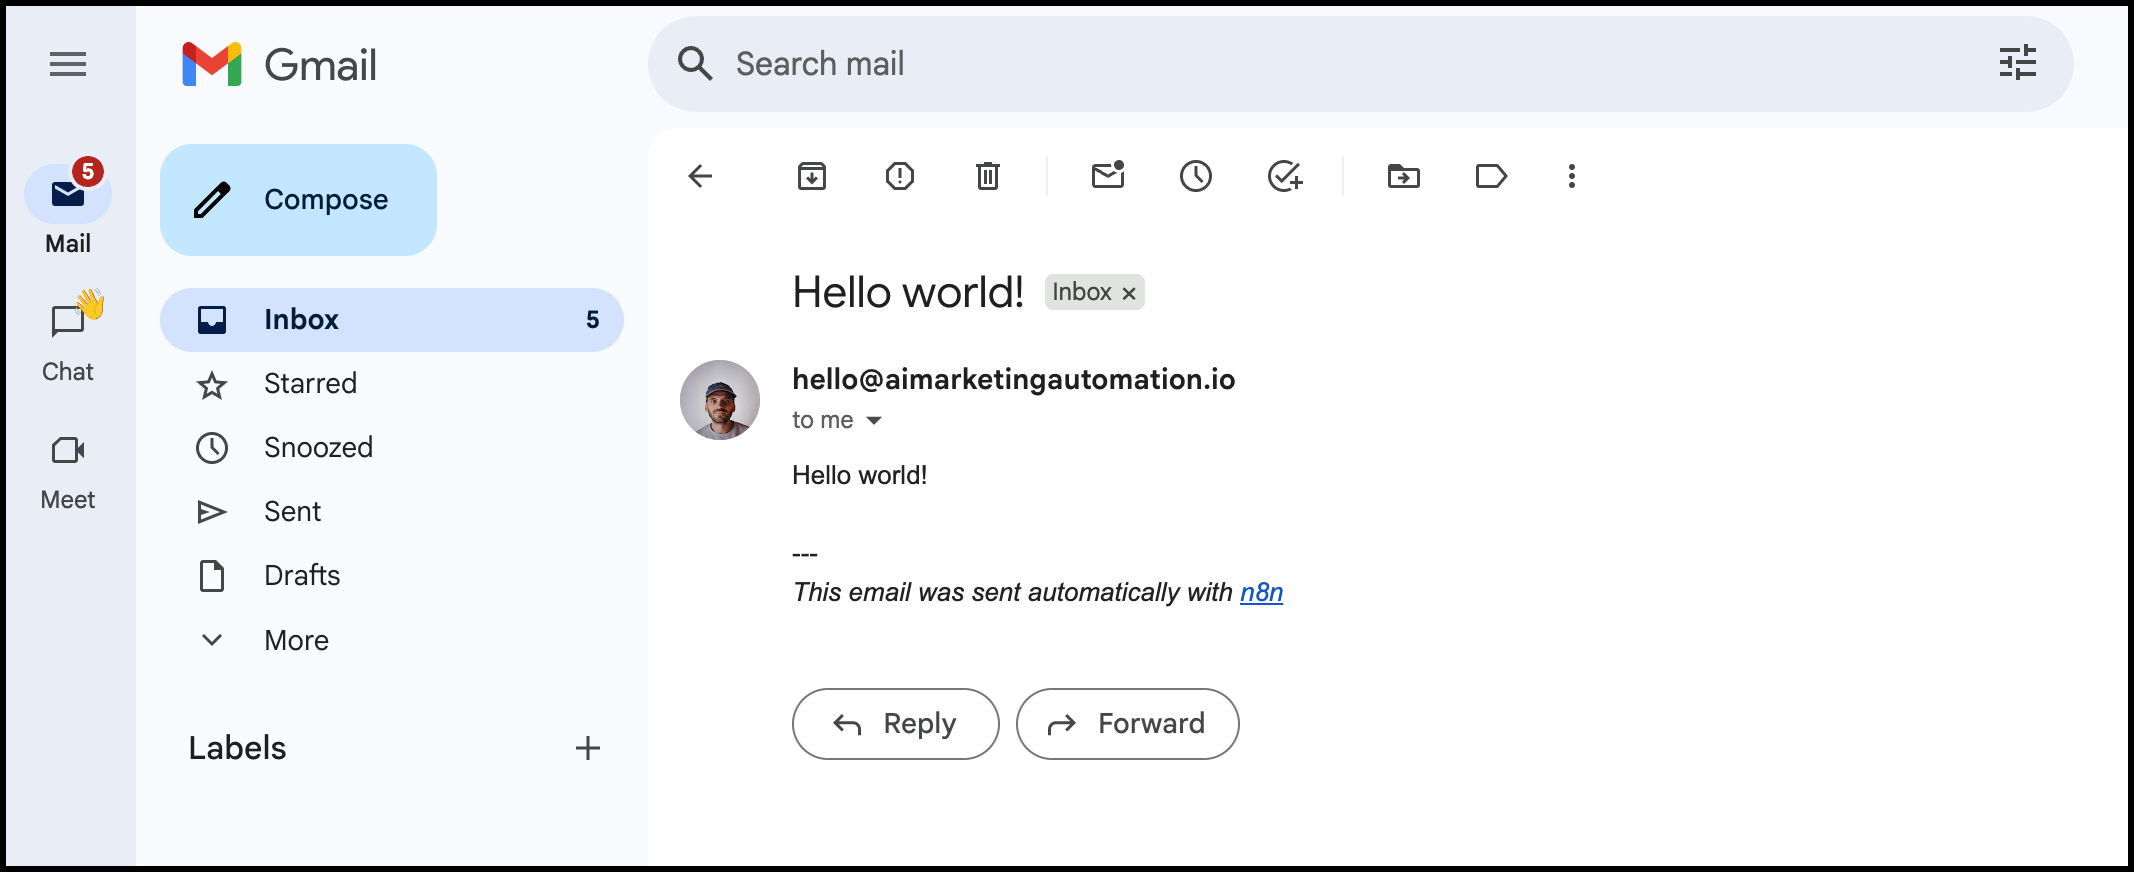
And that’s it - we've successfully sent your first automated email with n8n. The most straightforward way to confirm it worked is to check your Gmail inbox, where you should find the message waiting.
For a simple workflow like this, seeing the final result is often all the confirmation you need. However, as you build more advanced automations or need to troubleshoot an error, you'll need a more technical way to review what happened.
Reviewing the workflow's execution
After a workflow runs, the editor provides a complete log of what happened. This is crucial for confirming success and for debugging if something goes wrong.
Click on any node that has executed, like our Gmail node. In the panel on the right, you'll see different views, most importantly Input and Output.
- Input: This shows the data the node received from the previous step. In our case, it's just the basic execution data from the trigger. In a more advanced workflow, this could be customer details or campaign performance metrics.
- Output: This shows the data the node produced after it ran. For our Gmail node, the output will contain a success message from the Gmail API, confirming that the email was sent.
This input/output view is your primary tool for troubleshooting. If a workflow ever fails or gives you an unexpected result, inspecting the data at each step is the fastest way to find and fix the problem.
How to think in workflows
Before you drag a single node onto the canvas, map out your logic. It's the key to building effective automations instead of digital Rube Goldberg machines.
Start by answering these questions:
- What's the trigger? What event starts this process? (e.g., A new row in a Google Sheet, a new payment in Stripe, 9 AM on a Monday).
- What data do I need? What specific information is required to complete the task? (e.g., The customer's email, the campaign name, the YouTube video transcript, the average conversion value and standard deviation)
- What decisions must be made? What logic is involved? (e.g., IF the country is 'USA', THEN do X. IF the keyword contains 'brand', THEN do Y).
- What is the final action? What is the ultimate goal? (e.g., Send an email, add a row to a report, provide output in a Google Doc).
- Where can AI add value? Ask yourself: "Could an AI model classify this datapoint, summarize this report, or write a draft email or blog?" This plants the seed for moving from basic automation to advanced AI Marketing Automation.
Your next step: Build your first workflow
You understand the concepts, and now it's time to build. The best way to make these ideas stick is to get your hands dirty.