How to connect n8n to BigQuery using OAuth

In our last article, we made the strategic case for connecting n8n and BigQuery. We talked about the "why": creating a single source of truth and building a foundation for true marketing intelligence. Now, it's time to build the bridge between them.
This tutorial is a step-by-step technical guide. We will walk you through the exact process of creating a secure connection from your n8n instance to your BigQuery projects.
In a couple of minutes, you will have a working, tested connection, ready to power your automated workflows with marketing data.
A quick note on connection methods
For connecting to Google Cloud, you have two main options: OAuth 2.0 (which we're covering here) and Service Accounts.
- OAuth 2.0 links n8n to your personal Google account. It's fast, simple, and intuitive.
- Service Accounts create a dedicated, non-human "robot user" for the application. This method is more robust and secure for production systems, especially in a team environment where you need to manage access and control carefully.
If you are working in a large organization, your administrator may require you to use a Service Account. We'll cover that advanced setup in a future guide. For now, let's get you connected using the direct OAuth method.
The step-by-step guide
Alright, let's start with the step-by-step guide. All you need to have is a Google Cloud Project and n8n to get this started.
Step 1: Enable the BigQuery API
Regardless of which method you choose, you must first enable the BigQuery API for your Google Cloud project.
- Navigate to the Google Cloud Console.
- In the main search bar at the top, type "API Library" and select it.
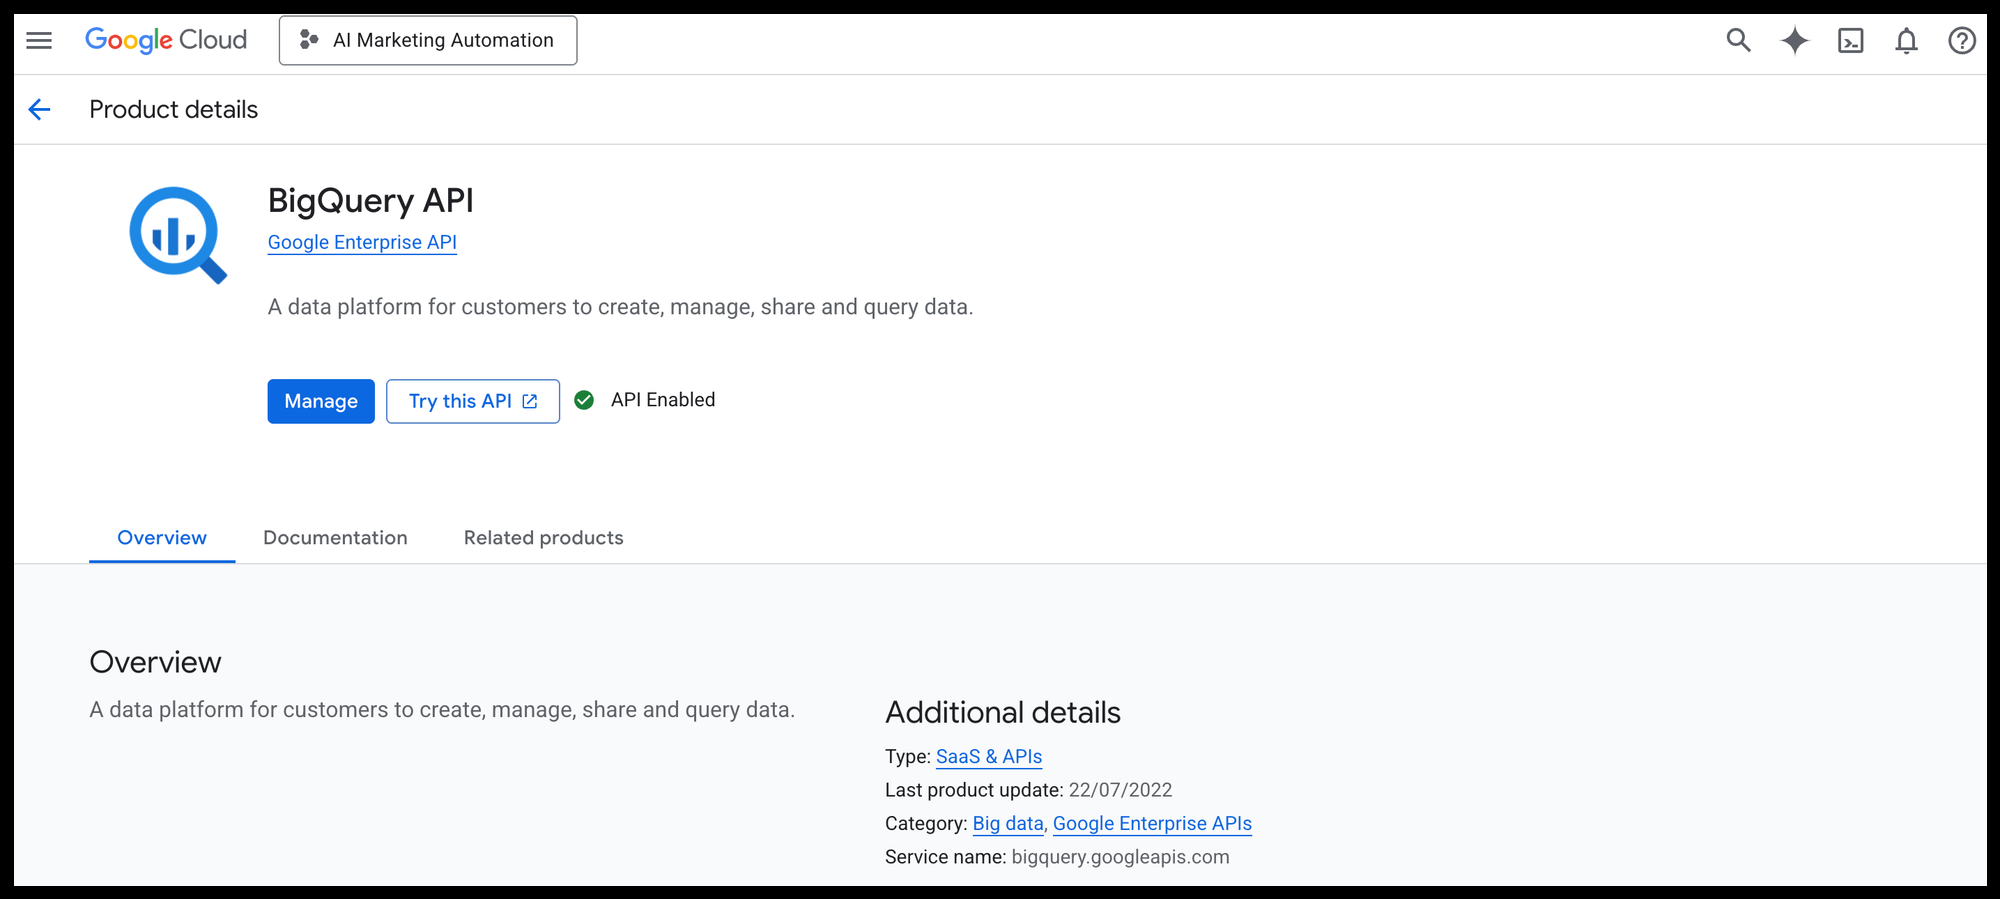
- In the API Library search bar, search for "BigQuery API."
- Click on the BigQuery API result and ensure it is enabled. If not, click the "Enable" button.
With the API enabled, you can now proceed with your chosen connection method.
Step 2: the BigQuery credential in n8n
Then, we need to get a Redirect URL from n8n that Google will use.
- In your n8n instance, go to Credentials from the left-hand menu.
- Click the Add credential button.
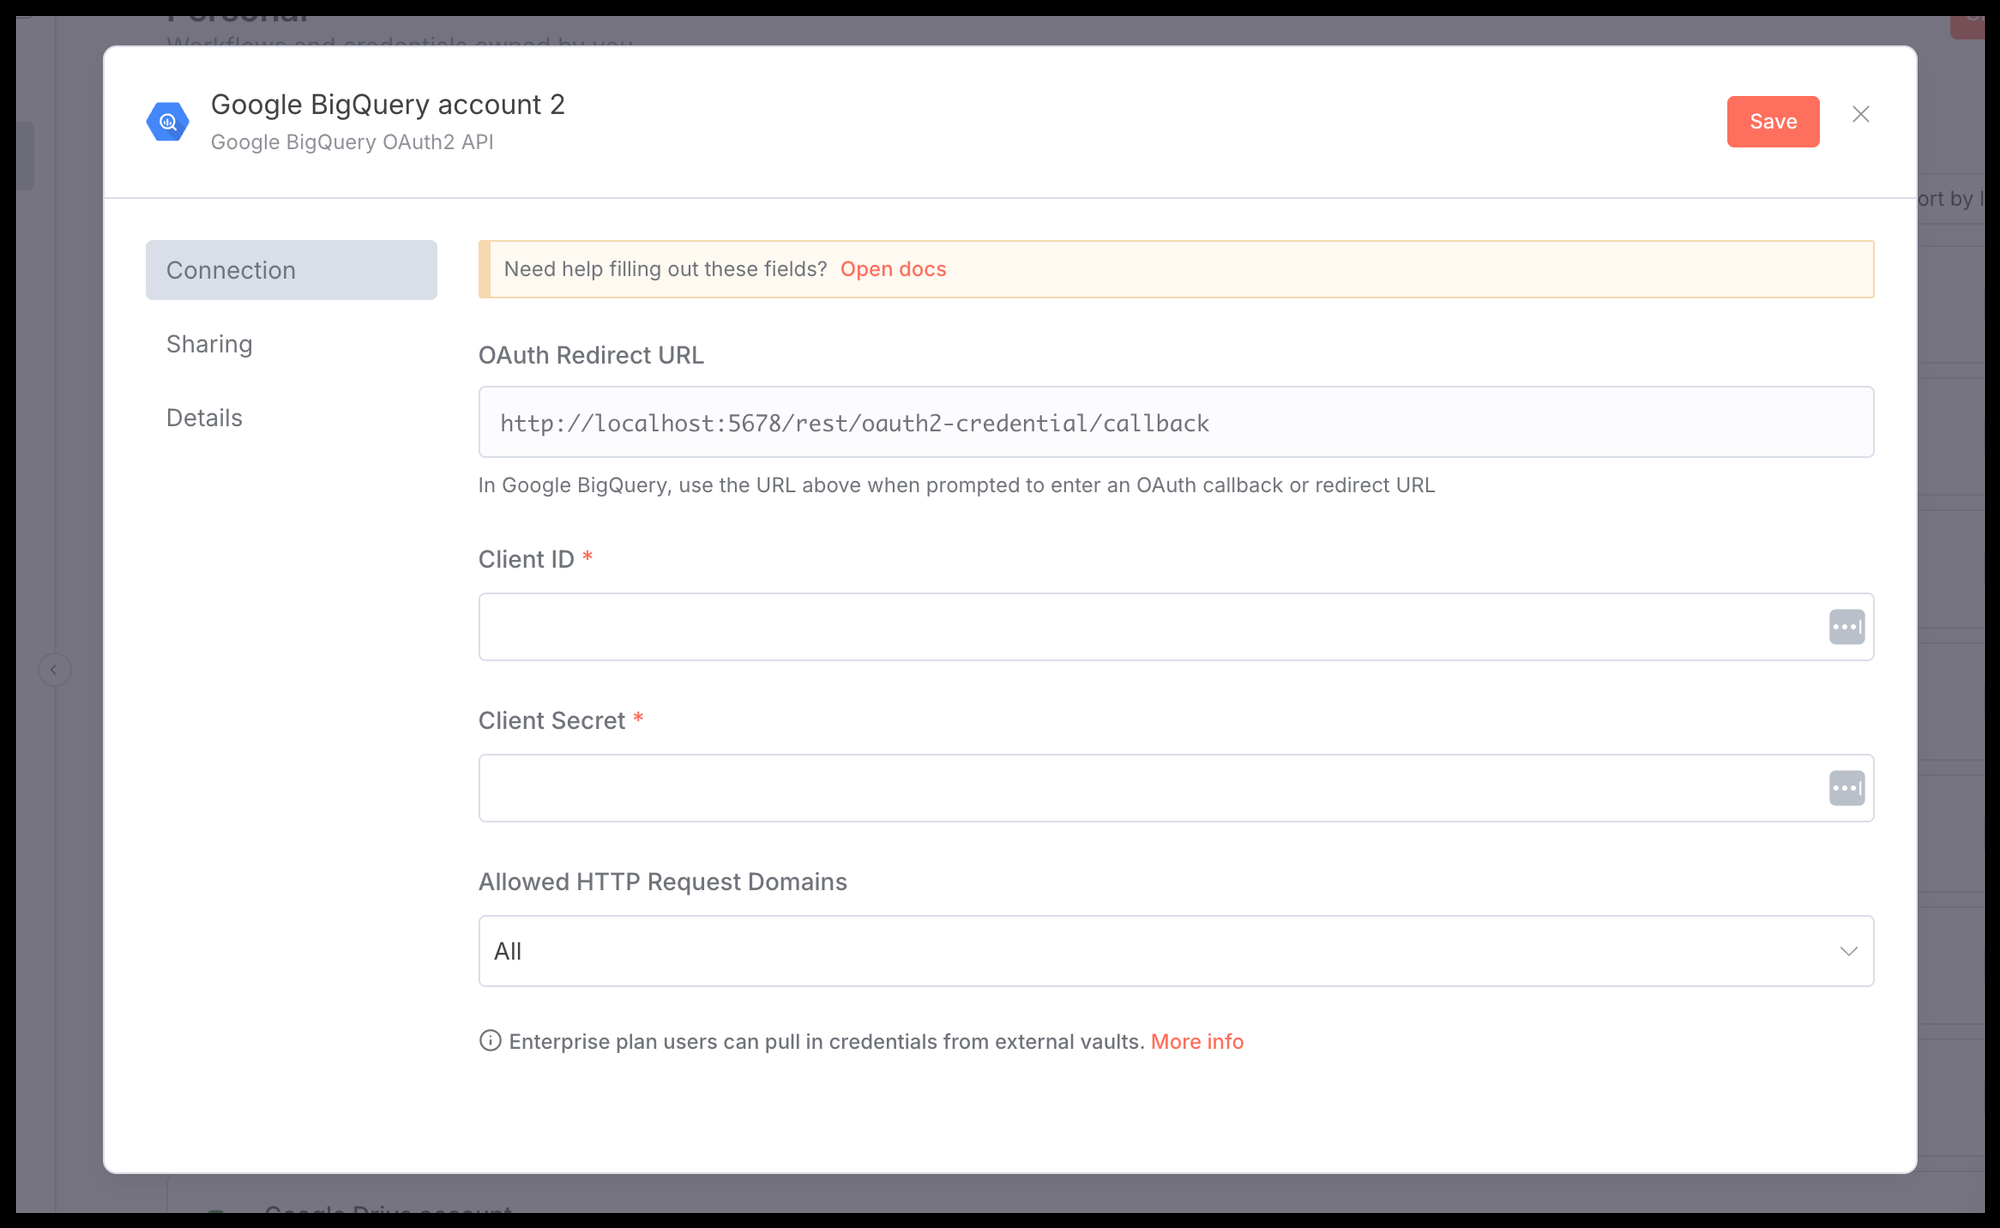
- Search for "Google BigQuery oAuth API" and select it.
- In the credential setup modal, you will see an OAuth Redirect URL. Click the copy icon to copy this URL to your clipboard. You'll need it in the next step.
Keep this n8n browser tab open.
Step 3: Create OAuth credentials in Google Cloud
Now, we'll tell Google Cloud about your n8n application.
- Navigate to the Google Cloud Console.
- In the main search bar, type APIs & Services and select it.
- From the left menu, click on Credentials.
- Click + CREATE CREDENTIALS at the top and select OAuth client ID.
- For the Application type, select Web application.
- Give it a descriptive name, like
n8n-oauth-credential. - Under Authorized redirect URLs, click + ADD URL and paste the OAuth Redirect URL you copied from Step 1.
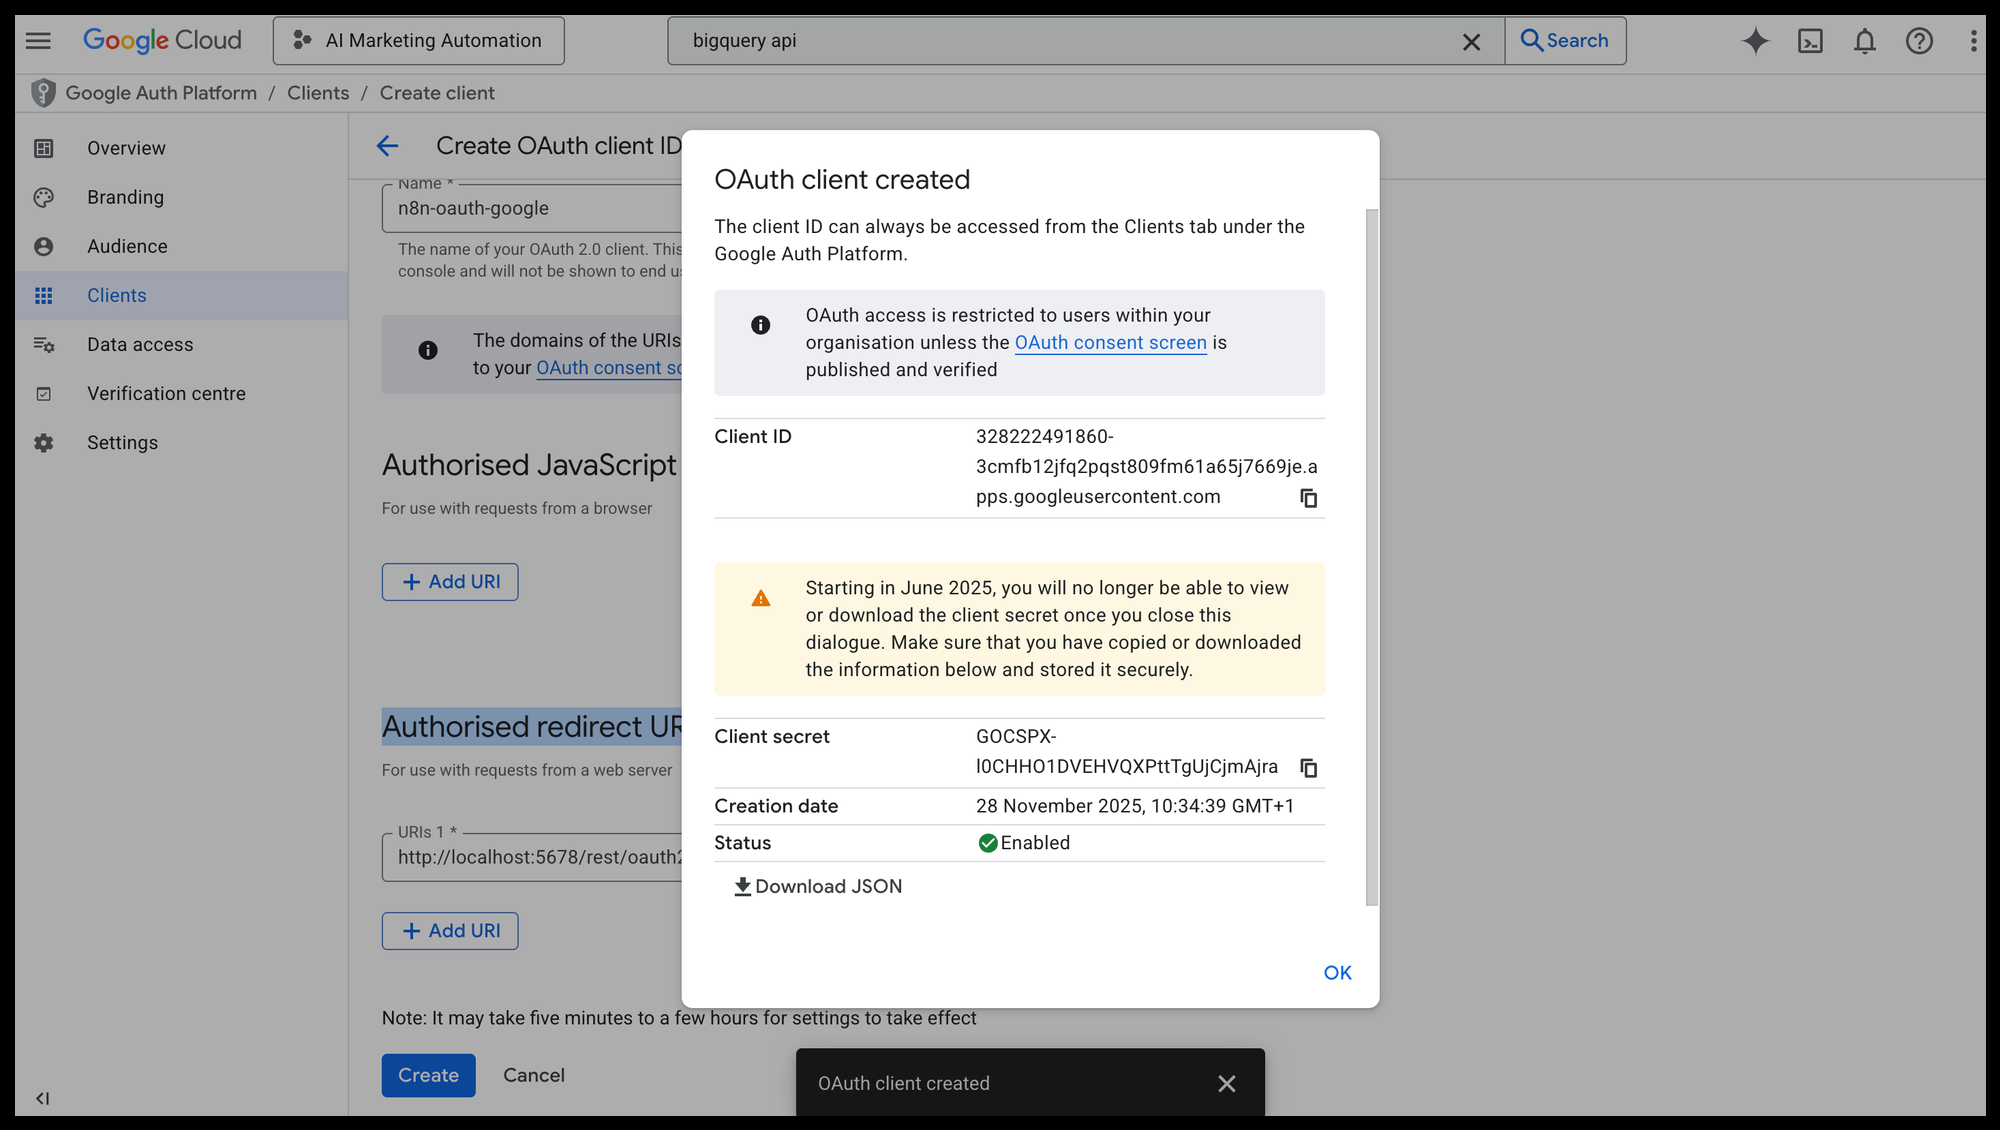
- Click Create.
A modal will appear showing your Client ID and Client Secret.
Step 4: Add your Client ID and Secret to n8n
Now we just need to copy these two values back into n8n.
- Copy the Client ID from Google Cloud and paste it into the Client ID field in the n8n credential modal.
- Copy the Client Secret from Google Cloud and paste it into the Client Secret field in n8n.
- Click the Sign in with Google button.
This will open a standard Google login pop-up. Choose the account you want to connect with and approve the permissions. Once done, you can save the credential.
Testing your new connection
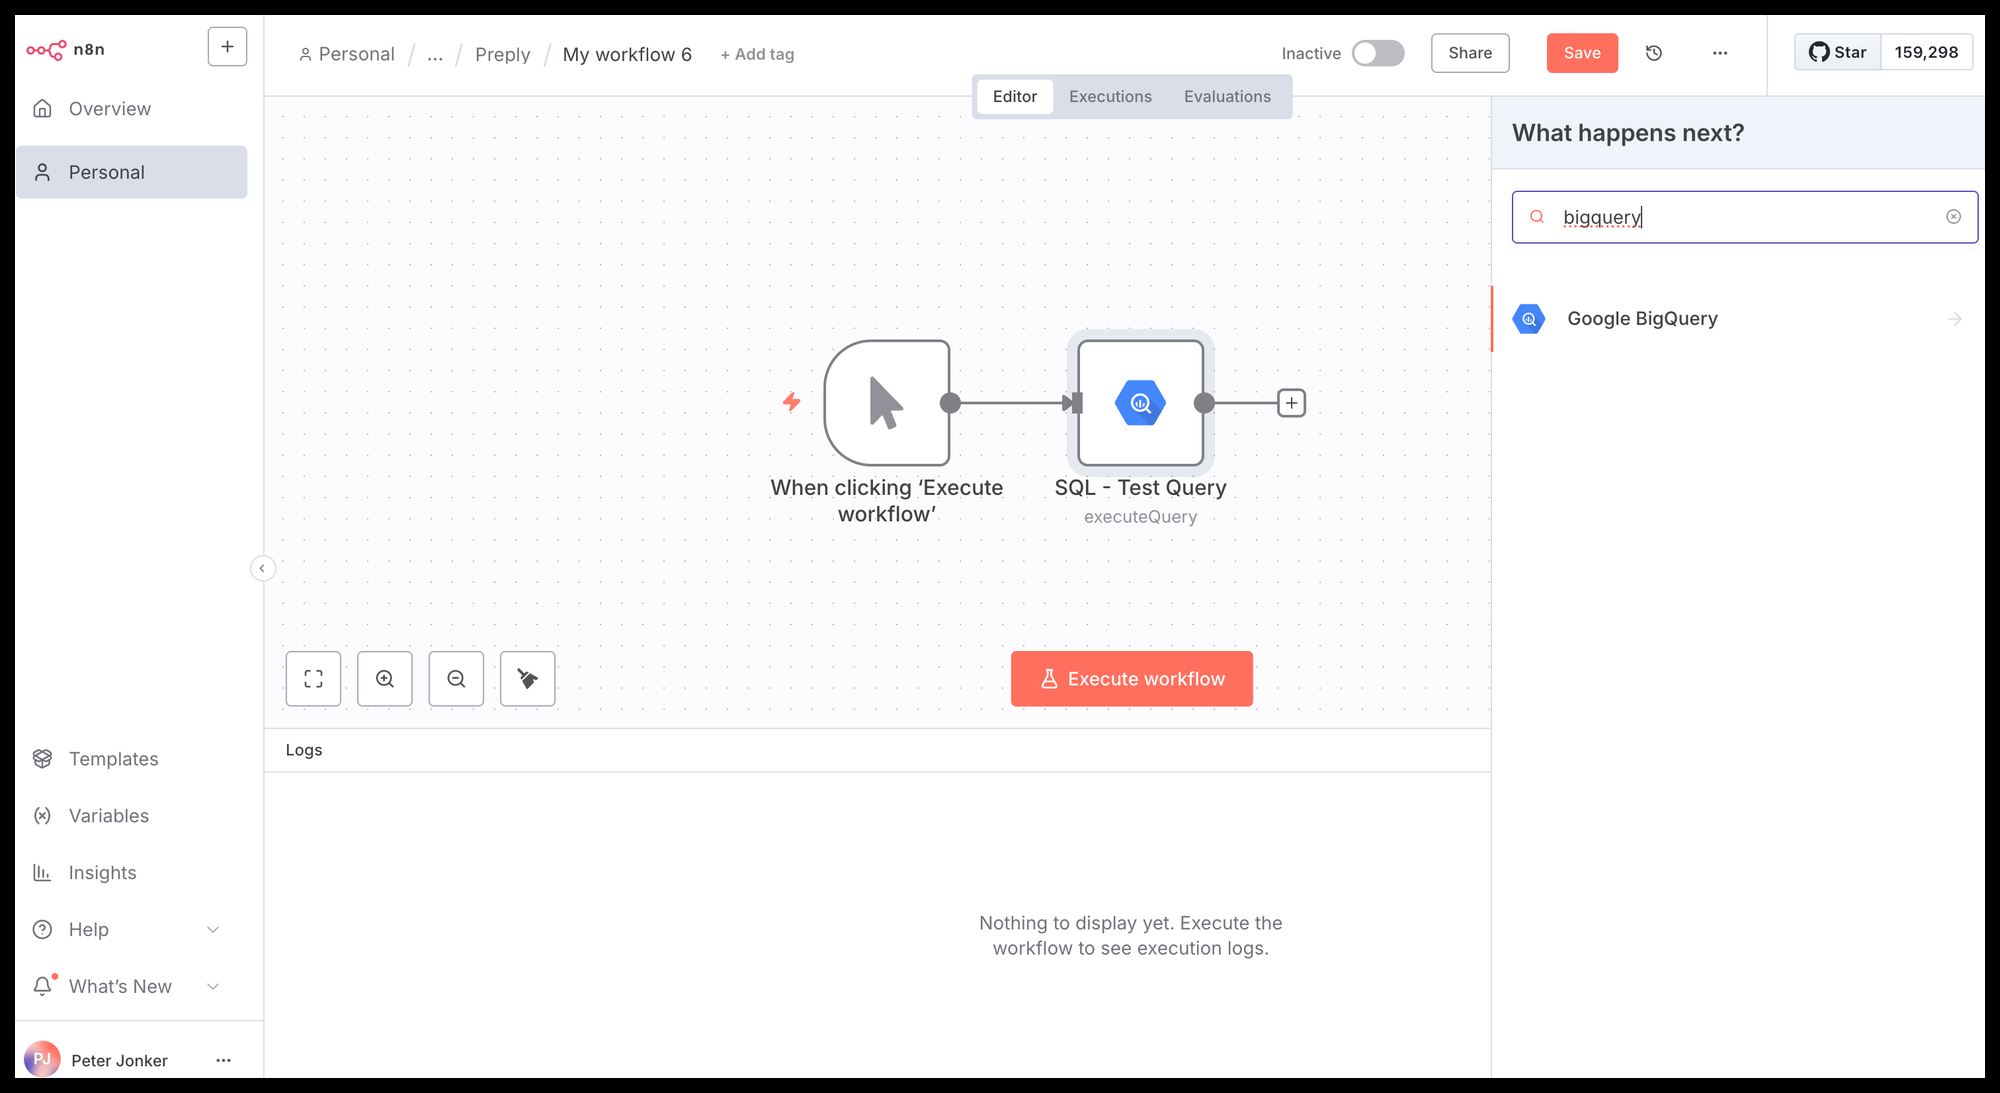
Whichever method you used, let's make sure it's working correctly with a simple test. We'll build a two-node workflow to run a basic query that proves the connection is live:
- Add a Manual Trigger Node
- Connect this to the Google BigQuery Node
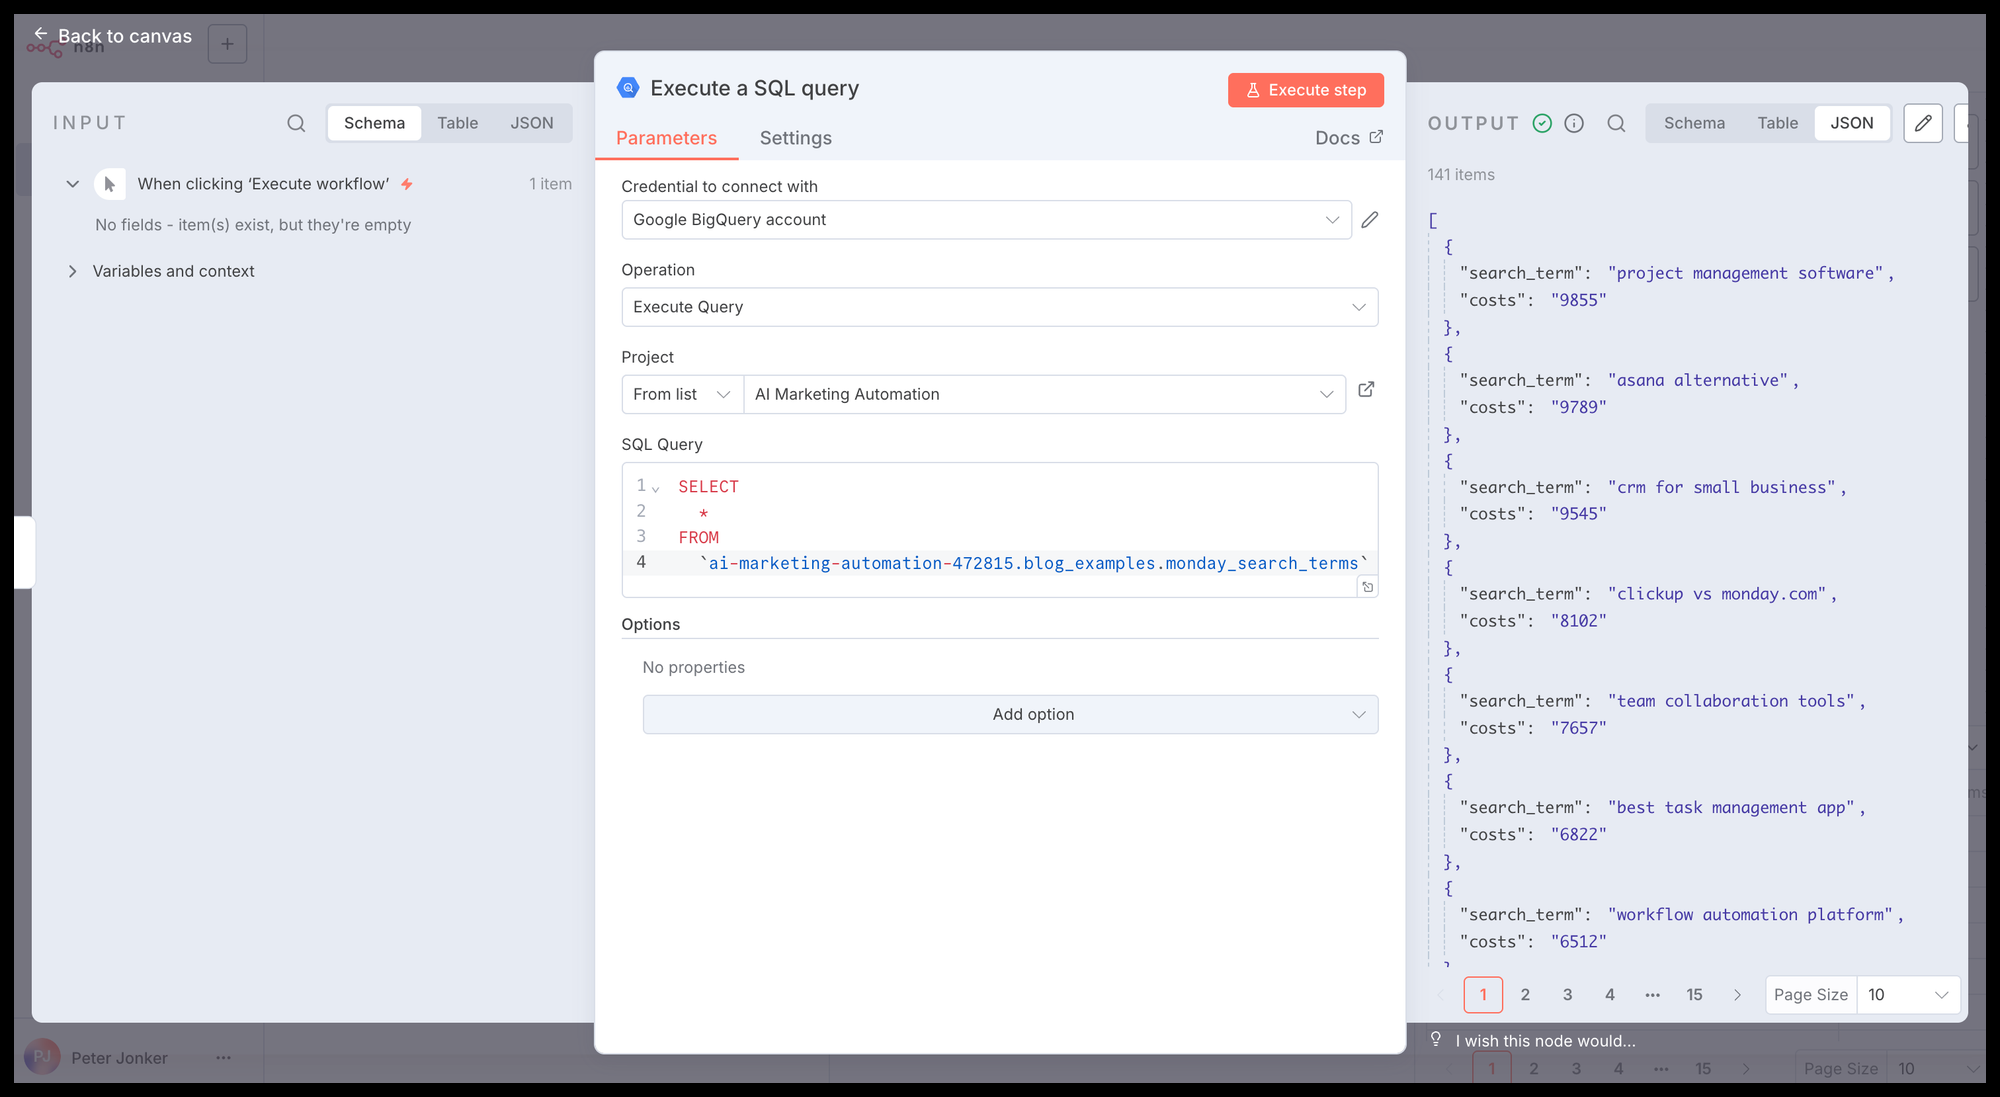
After setting up the test worklow ,open the BigQuery node and do the following:
- Select the Credential you just created from the dropdown.
- Select the BigQuery Project from the table(s) you're trying to query.
- Add the test SQL query in the node.
- Test with clicking on Execute Step.
- You should see the output from the Query in the OUTPUT section on the right.
What's next?
Congratulations! You have successfully established a secure, robust connection between your automation engine and your data warehouse. This is the essential foundation for building powerful, data-driven marketing agents.
In our next guides, we will use this exact connection to build our first two practical workflows: the "Automated Reporting Agent" and the "AI Analyst Agent." You are now ready to put your data to work.