Credentials in n8n: API keys, OAuth2, and connecting your marketing tools

The real power of marketing automation starts with integration. Still, most marketing stacks operate in silos.
This doesn't only slow your team down with repetitive manual work, but also prevents you from connecting the dots to uncover insights that drive growth.
Luckily, n8n is built to be the bridge between those islands. And the first, most crucial step in building that bridge is learning how to set up credentials in n8n.
In n8n, credentials are a secure, central vault for your API keys and connection details. The benefit is simple but powerful: enter once, use everywhere. You connect a service one time, and that connection is available for any workflow you build, forever.
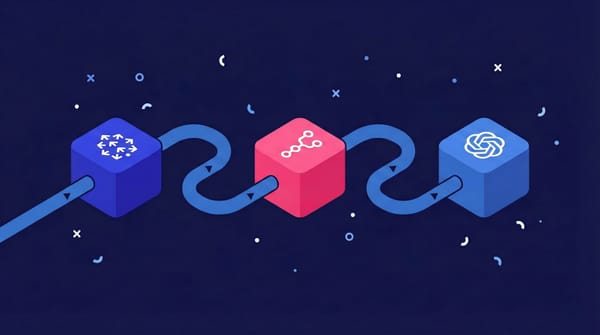
This guide will walk you through the most common authentication methods marketers need: the simple API Key and the more secure OAuth2. We'll cover step-by-step examples for connecting OpenAI, Slack, the entire Google Suite, and more.
Understanding the core authentication methods for marketers
At a high level, there are two main ways n8n connects to your marketing platforms. The simplest way to understand the difference is with an analogy.
- API key: Think of this like a physical key to a private room. It's a unique string of text that unlocks the door. It's simple, direct, and doesn't ask any questions. As long as you have the key, you have access.
- OAuth2: This is like a modern hotel key card. It's granted by a central authority (like Google), it can have specific, limited permissions (e.g., "access to read Google Sheets, but not to delete them"), and it can be easily revoked at any time without changing the lock. It’s more complex to set up initially, but it’s far more secure and powerful.
Method 1: API key authentication (the direct approach)
The most common and straightforward way to connect services is with a static API key. It's a single, secret token that proves your identity to a service.
Example 1: Connecting OpenAI (a classic API key)
Let's start by connecting to OpenAI, a perfect example of standard API key authentication.
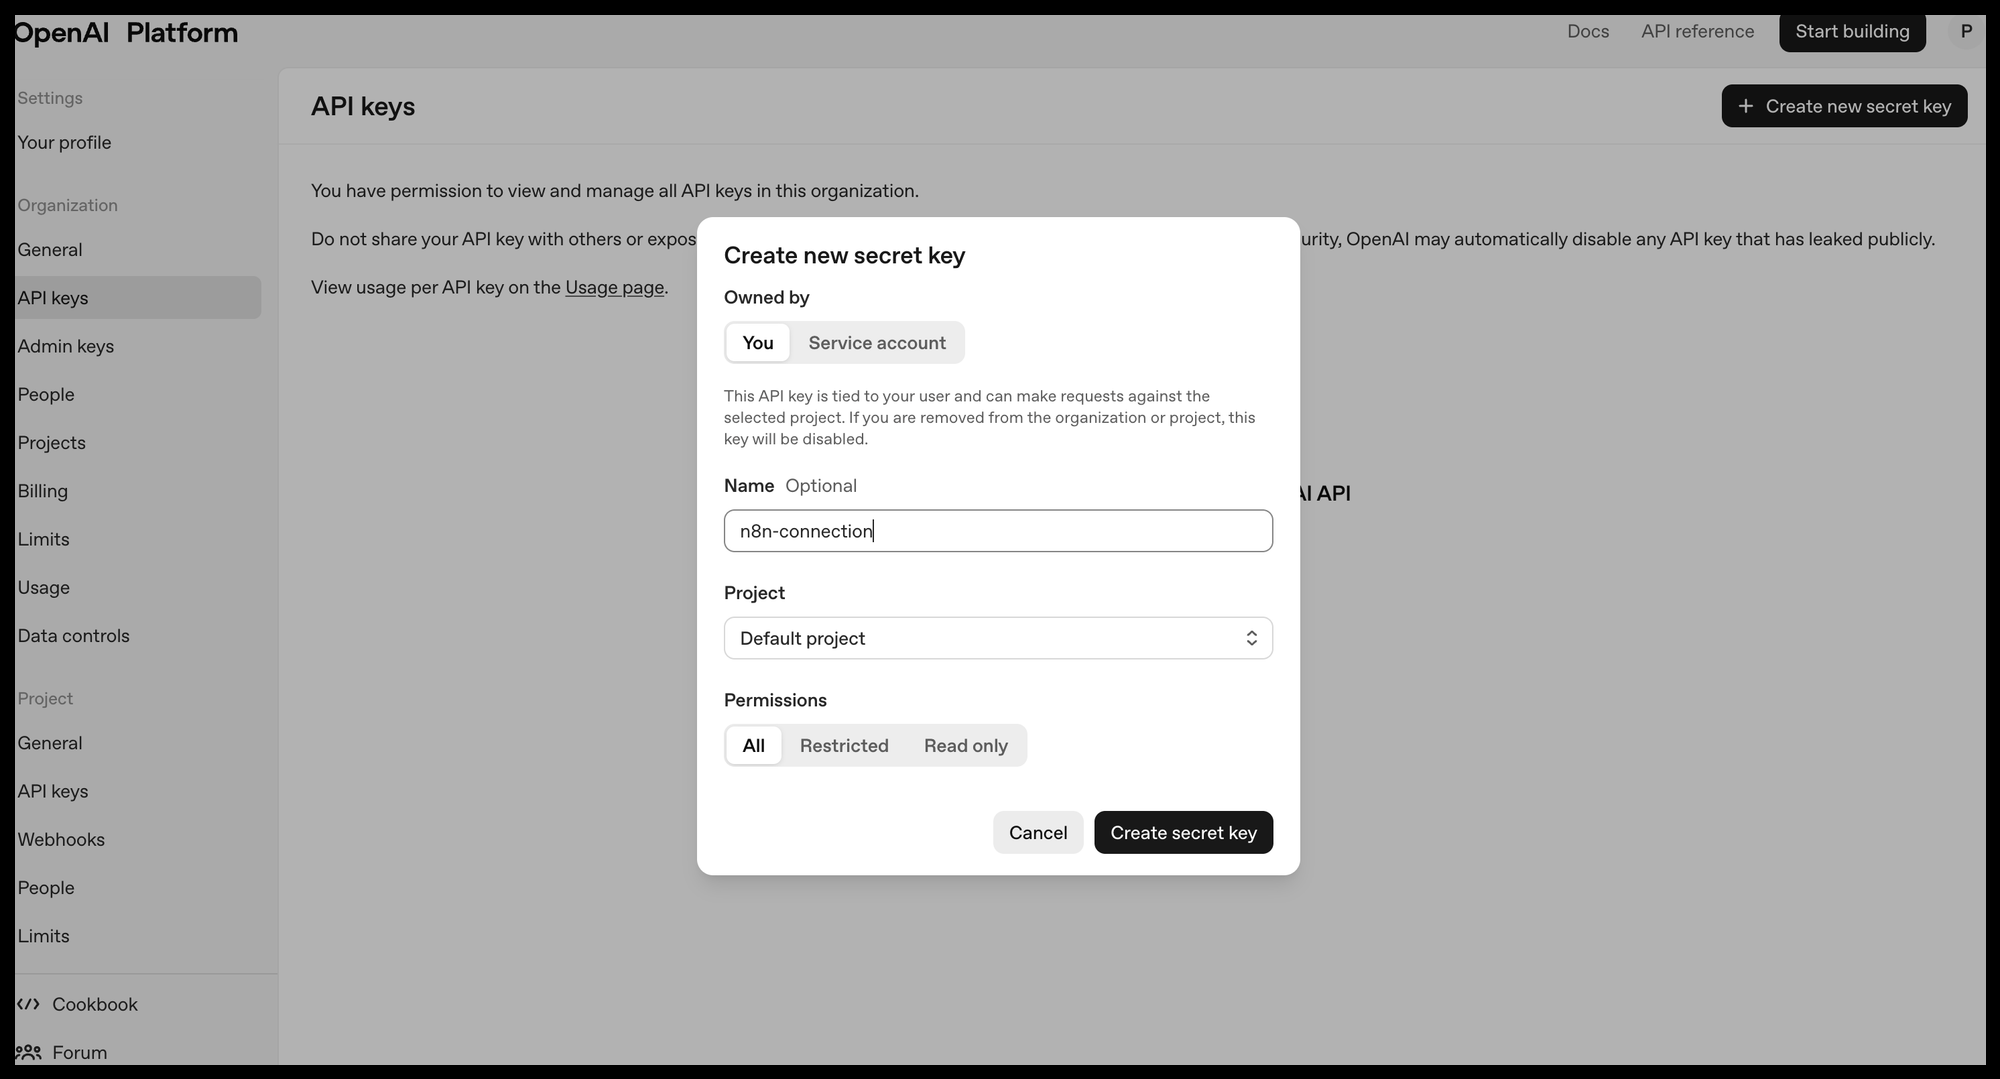
1. Finding your API Key in OpenAI
First, go to the OpenAI API Platform, log in to your account and navigate to the API keys section in the left-hand menu.
- Click "Create new Secret Key."
- Give your key a descriptive name, like "n8n-connection".
- OpenAI will generate a key that starts with
sk-.... Copy this key immediately! For security reasons, you will not be able to see it again.
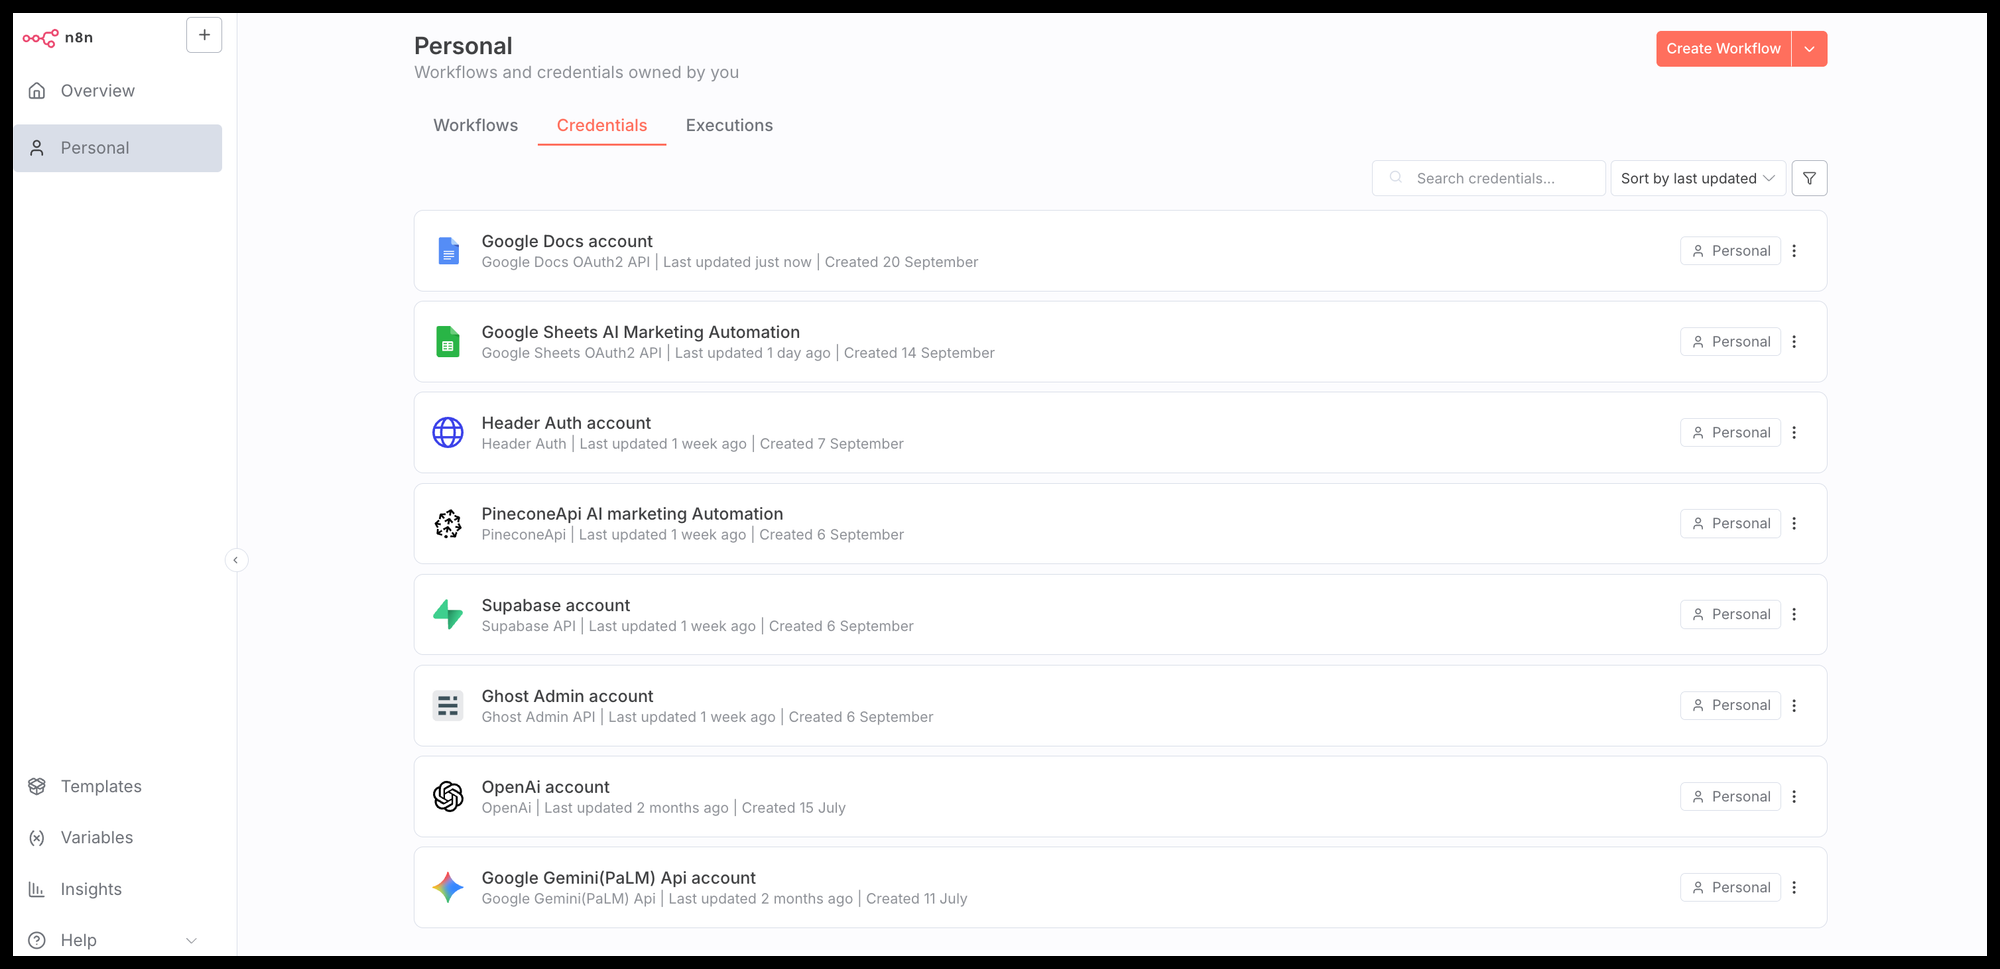
2. Creating the credential in n8n
Now, head over to your n8n instance.
- In the left menu, go to Credentials.
- Click the "Create" button.
- In the "Search all" box, type "OpenAI".
- Select the "OpenAI API" credential type.
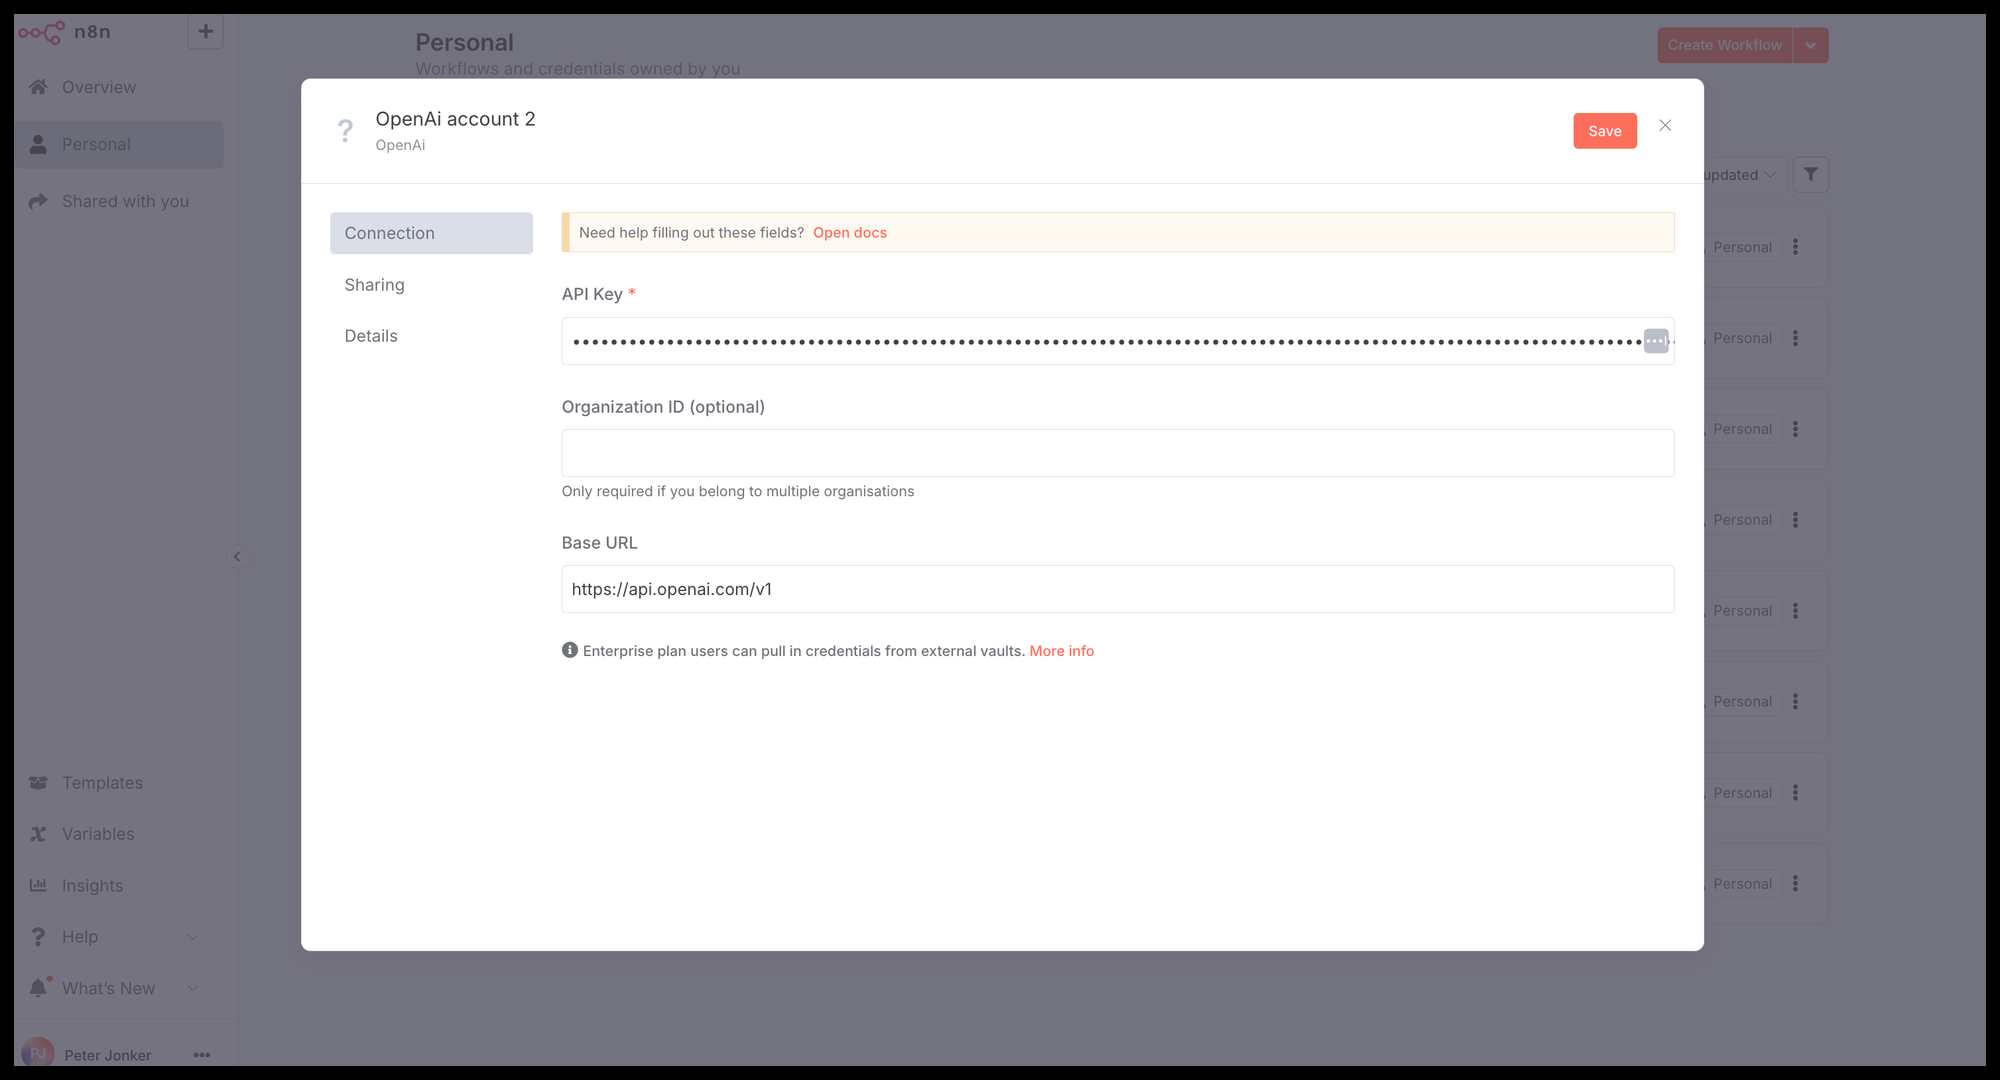
- Give your credential a memorable name and paste your secret key into the "API Key" field.
- Click "Save" to finish.
3. Testing the connection
That's it! To confirm it works, open any workflow, add an OpenAI node, and select your newly created credential from the dropdown. If the node executes without errors, you're officially connected.
Example 2: Connecting Slack (bot token as API key)
Many modern platforms, like Slack, use a "Bot Token" which functions exactly like an API key. You're giving your n8n workflow permission to act as a bot inside your Slack workspace.
1. Finding your bot token in Slack
- Go to
api.slack.com/appsand click "Create new App". - Choose "From scratch," give your app a name (e.g., "n8n Workflow Alerts"), and select the workspace you want to connect it to.
- Once created, navigate to "OAuth & Permissions" in the sidebar.
- Scroll down to "Bot Token Scopes" and click "Add an OAuth scope." You need to give your bot permission to perform actions. For sending messages, the most common scope is
chat:write. - Scroll back to the top and click "Install App to Workspace."
- After authorizing, you'll be shown a "Bot user OAuth token" that starts with
xoxb-. This is your API key.
2. Creating the Credential in n8n
- In n8n, go to Credentials > Create.
- Search for and select "Slack API".
- Paste your
xoxb-token into the "Access Token" field. - Click "Save."
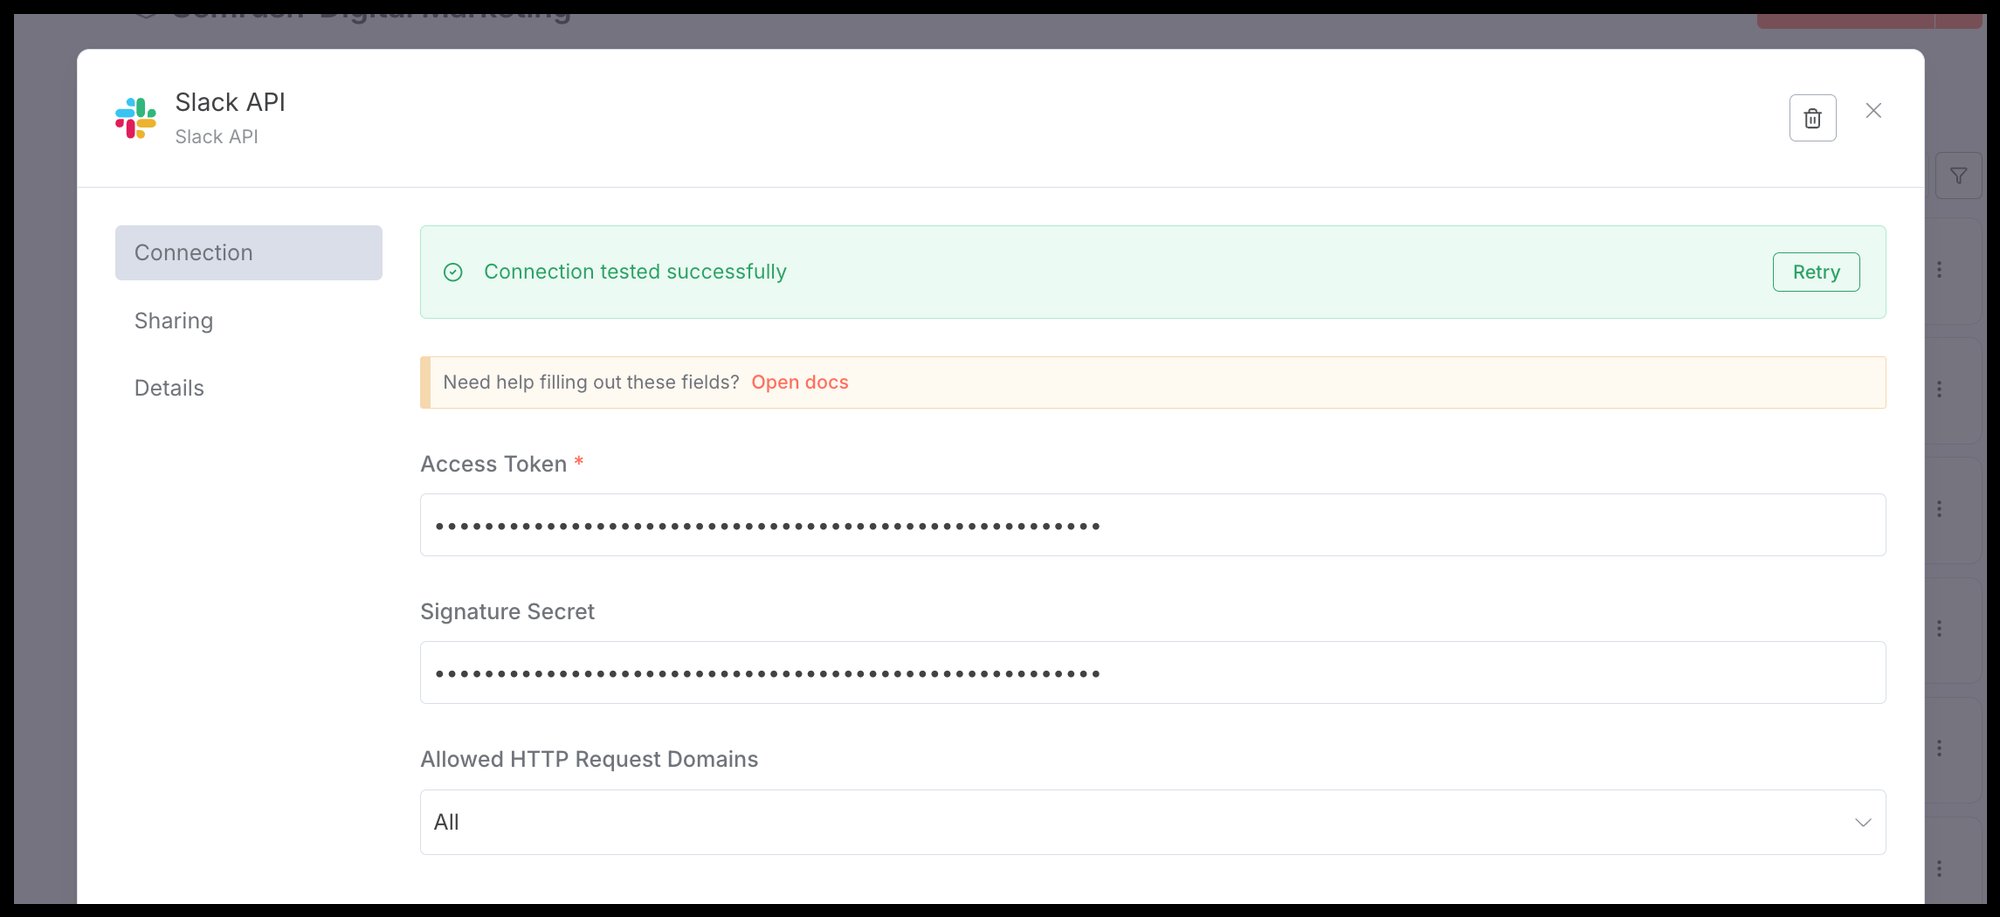
3. Testing the Connection
Add a Slack node to a workflow, select your credential, and use it to send a test message to a channel or user. It's a great way to set up simple success or failure alerts for your automations.
Method 2: OAuth2 authentication
OAuth2 is the gold standard for secure connections, and it's required by major platforms like Google and Microsoft. The process involves a one-time setup where you register your n8n instance as a secure "app" within that platform. Once you do this once, you unlock access to dozens of services within that provider's ecosystem (e.g., Google Sheets, Google Ads, Gmail, etc.).
Connecting the entire Google suite to n8n
This process can feel intimidating the first time, but doing it once unlocks the entire Google marketing suite. These are the exact steps I follow to make sure it works perfectly every time.
The foundation: Your Google Cloud project
Before you can connect to any Google service, you need a central project in the Google Cloud Platform (GCP) to manage all your API connections. If you don't have one, you'll need to create one.
Step 1: Create a new project in GCP
- Go to the Google Cloud Console.
- In the top header, click the project dropdown and select "New project".
- Give it a clear name like "n8n-integrations" and click "Create".
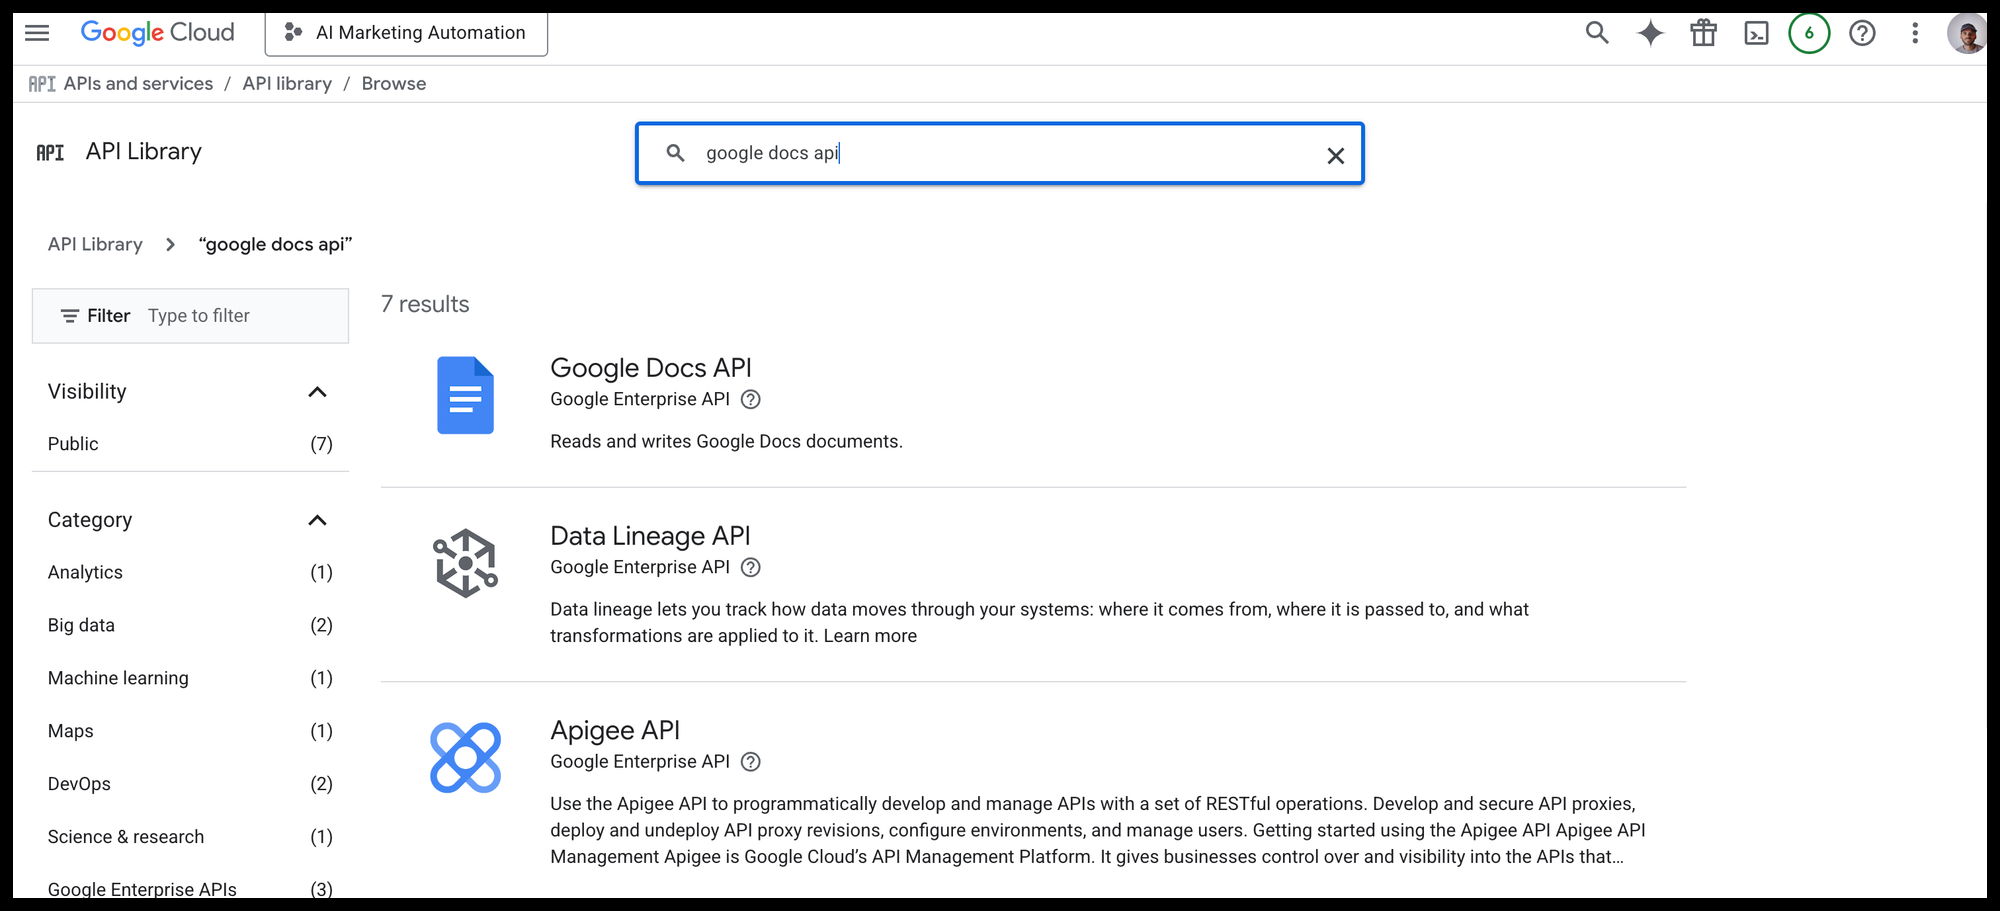
Step 2: Enable the necessary APIs For every Google service you want to use, you must enable its specific API within your new project.
- In the search bar, type "API library".
- Search for the service you need, for example, "Google Docs API," and click "Enable."
- Repeat this process for every other service you plan to use, such as the "Google Ads API" or "BigQuery API."
Step 3: Create OAuth 2.0 Client IDs This is the most important step. Here, you'll generate the actual client ID and secret that n8n will use, and you'll tell Google that n8n is an authorized application.
Lets use the Google Docs API as example, but for all Google APIs the process works the same.
- First, go to your n8n instance. Start creating a new Google API credential (Credentials > Create > Google Docs oAuth2 API). Here, n8n will give you a unique Redirect URL. Copy it.
- Now, go back to the Google Cloud Console. Navigate to "APIs & Services" > "Credentials."
- Click "+ CREATE CREDENTIALS" and select "OAuth client ID."
- For "Application type," select "Web application."
- Under "Authorized redirect URIs," click "+ ADD URL" and paste the Redirect URL you copied from n8n.
- Click "Create." Google will now show you your Client ID and Client Secret. Keep this window open!
Step 4: Creating the credential in n8n
- Go back to your n8n credential creation screen.
- Copy the Client ID from GCP and paste it into the "Client ID" field in n8n.
- Copy the Client Secret from GCP and paste it into the "Client Secret" field in n8n.
- Click the "Sign in with Google" button.
- A new window will open. Choose your Google account and approve the permissions on the consent screen.
- You'll be redirected back to n8n, and if all went well, you'll see a success message. Save the credential.
You've done it! This single credential can now be used in the Google Docs node. You can repeat this process for any other Google API you'd like to connect, like BigQuery.

Connect any API with the HTTP Request Node
You are not limited to the apps with pre-built nodes in n8n. The principles of API Key and OAuth2 authentication, combined with the powerful HTTP Request node, allow you to connect to virtually any modern marketing tool that has an API.
If you have a service that provides a simple API key, you can use the HTTP Request node to communicate with it. Most APIs require the key to be sent in the request header, typically in a format like Authorization: Bearer YOUR_API_KEY.
Instead of pasting the key directly into the node (which is insecure), you can store it safely in n8n.
- Go to Credentials > Create.
- Search for and select the "Header Auth" credential type.
- Give it a name, use
Authorizationfor the "Name" field, andBearer YOUR_API_KEYfor the "Value" field. - Save it.
Now, in your HTTP Request node, you can select this credential from the Authentication dropdown, keeping your secret keys out of your workflow and securely stored in the vault.
The foundation for your automation is set...
Mastering credentials is the first, most crucial step to connecting and automating your entire marketing stack. You’ve now learned the fundamental methods for creating secure and reusable connections using:
- API Keys for services like OpenAI and Slack.
- OAuth2 for comprehensive platforms like the Google Suite.
- The HTTP Request node with Header Auth for everything else.
With this foundation in place, you've moved past the biggest technical hurdle in marketing automation. Your connections are ready.
Now it's time to build.